Lets just all admit that Mexican food rocks! All those impossibly fresh ingredients, bold flavors and textures… and, of course, tequila! Feed me Mexican for lunch and dinner every day, and I’m your best friend for life. Guac, fajitas, carne asada – I don’t discriminate, as long as it is fresh and low in carbs.
And since we are on the subject, I want to share with you one of my favorite Oaxacan recipes that will literally blow your mind. Yes, it is made with a scoop of chocolate, a sprinkle of chile, and a dash of creativity.
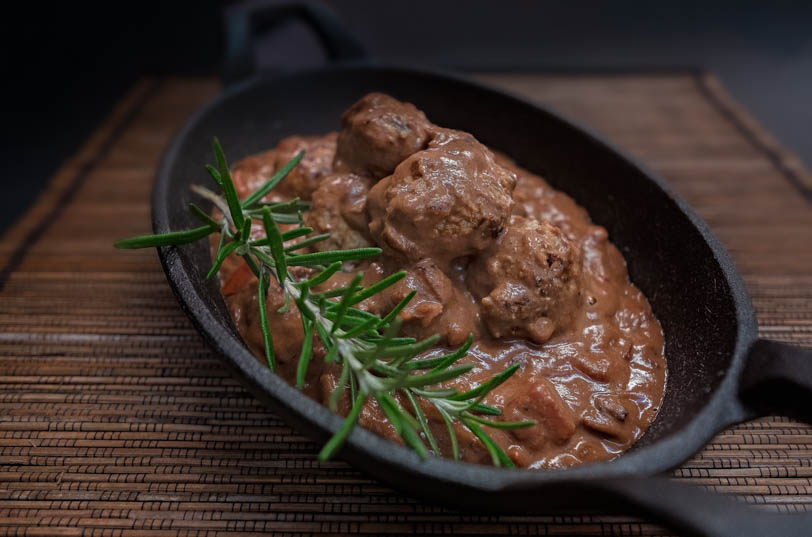
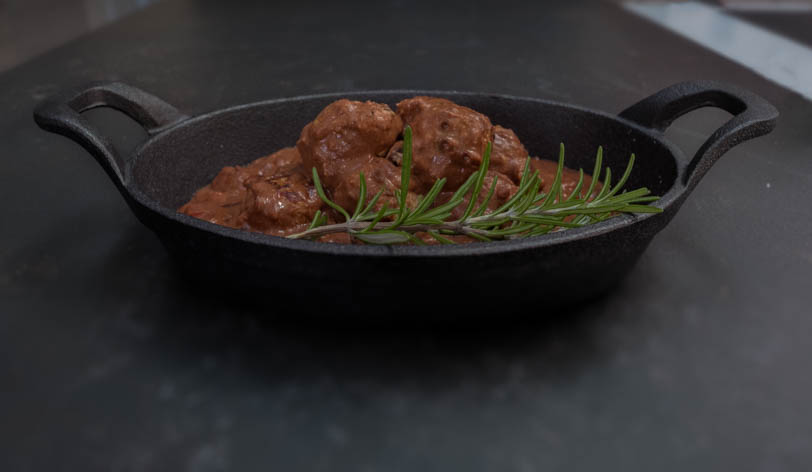
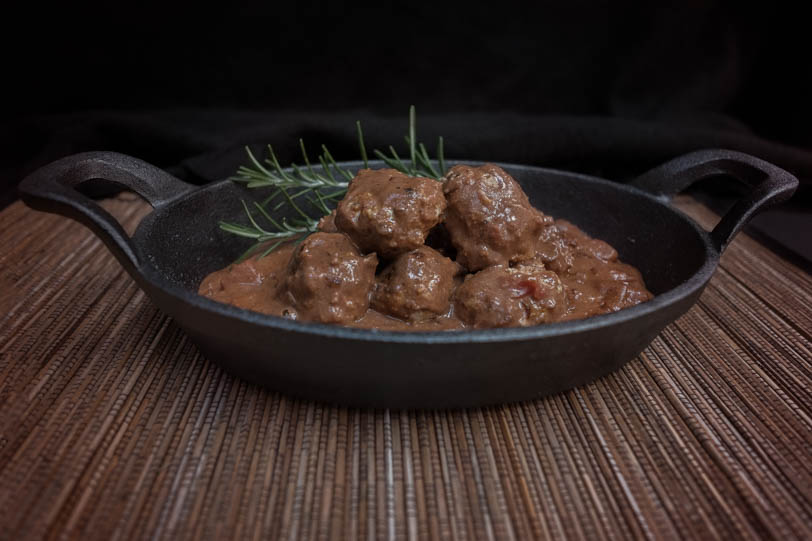
So without further ado, let me introduce you to your newest obsession – a low-carb, totally cuceelicious Mole. Just so you know THE SAUCE is the center of attention here. So go ahead, make the sauce and smother meatballs in it. If you make extra mole, save some for tomorrow’s grilled chicken or baked tofu – I promise you will want to try it with every protein on the planet.
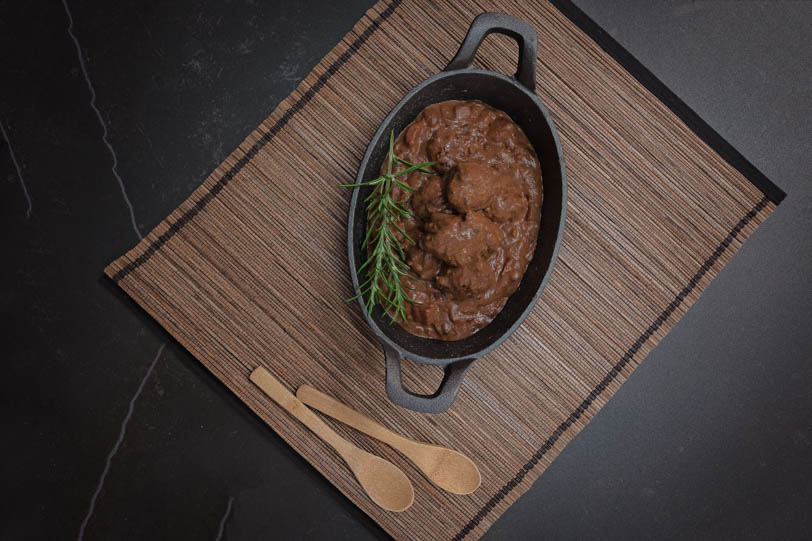
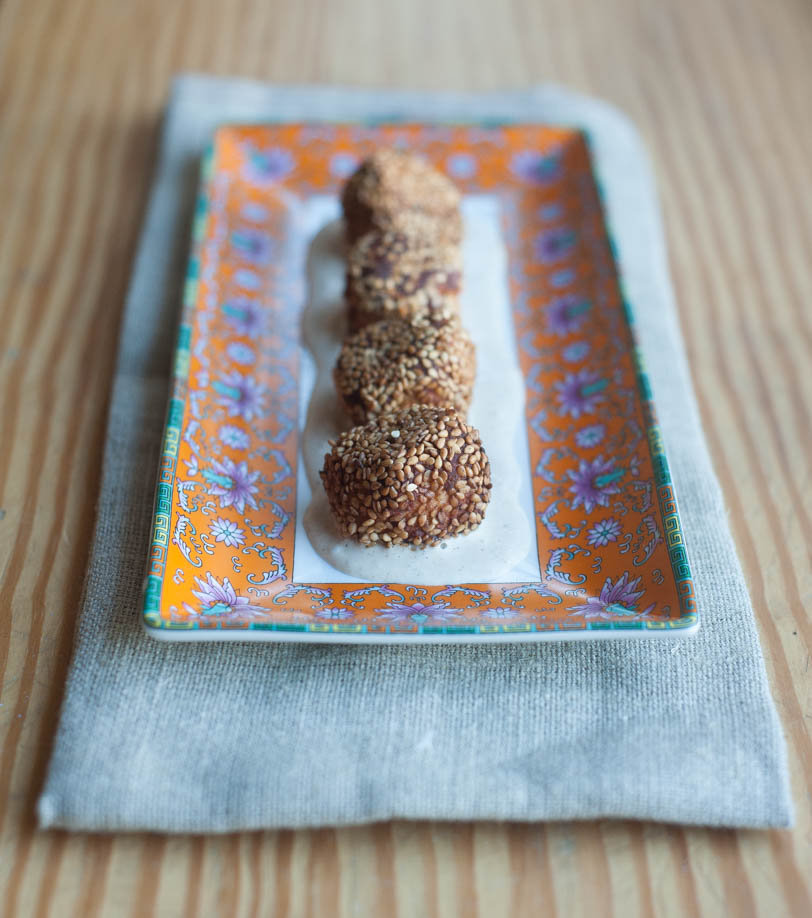
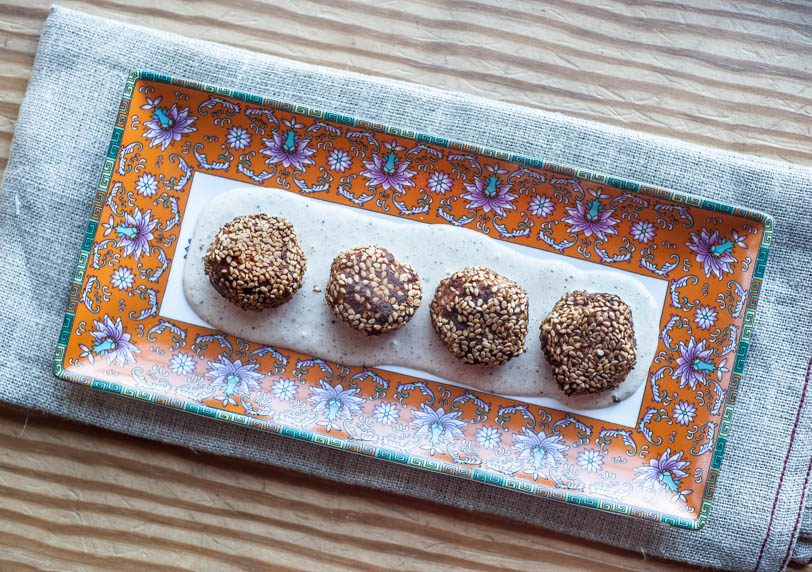
Low-Carb Meatballs Mole
Adapted from Well Fed Weeknights: Complete Paleo Meals in 45 Minutes or Less
Ingredients
Mole Sauce
- 2 tsp Extra Virgin Olive Oil
- ½ medium yellow onion, diced
- 1 clove garlic
- 2 tsp chili powder
- ½ tsp Himalayan Salt
- ¼ tsp ground cinnamon
- ⅛ tsp ground cloves
- ¼ tsp ground black pepper
- 1 tbsp tomato paste
- 1 tbsp unsweetened cocoa
- 5 drops stevia liquid glycerite
- ¾ cup tomato sauce
- ½ cup water or broth
- 2 tbsp almond butter
Meatballs
- 1 ½ lbs ground meat (all beef or a mixture of lamb and beef)
- 1 tsp chili powder
- 1 tsp Himalayan Salt
- ¼ tsp ground black pepper
Directions
Mole Sauce (can be made in advance)
- Warm the oil in a nonstick saucepan over medium-high heat, 2 min
- Add the onion to the pan and saute until soft, 5-7 min
- When the onion is soft, add the garlic, chili powder, salt, cinnamon, cloves and pepper to the pan and stir for 30 seconds
- Add the tomato sauce, water and almond butter; stir to combine
- Simmer over low heat while you prep the meatballs, about 10 mins
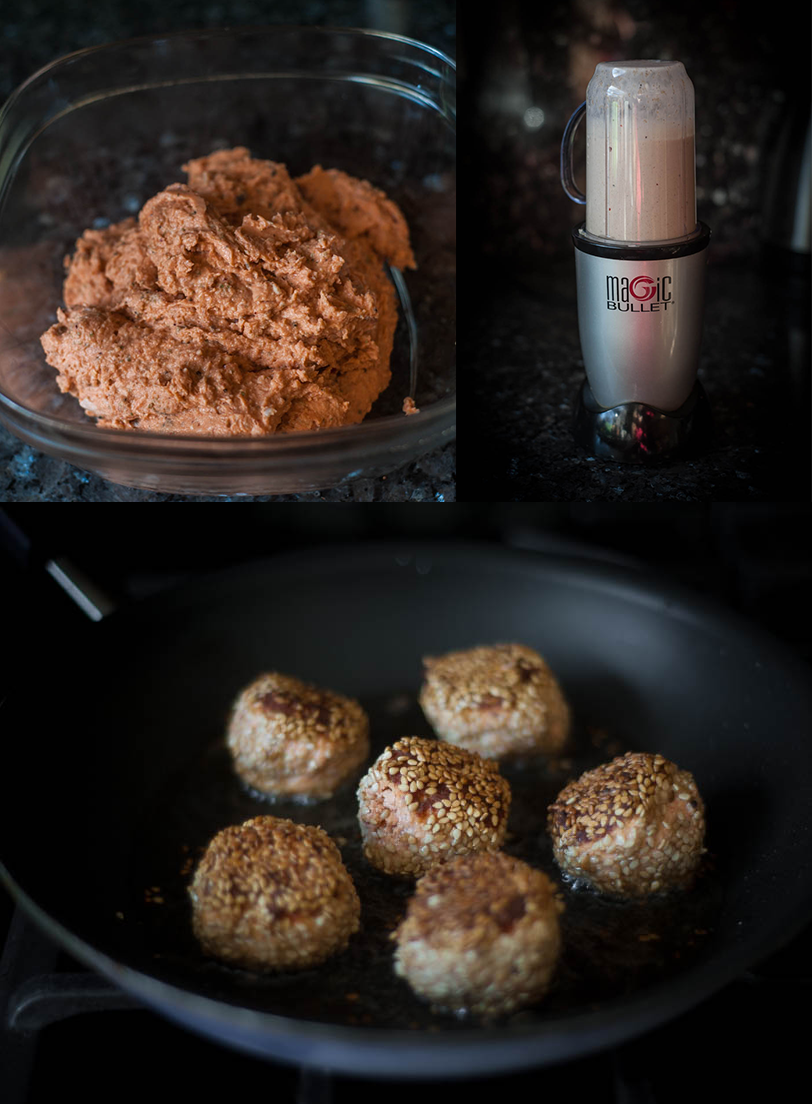
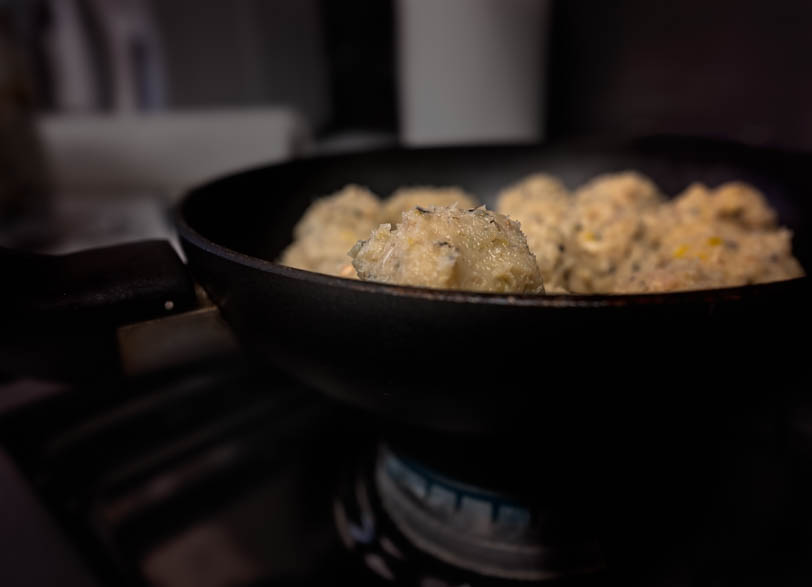
Meatballs
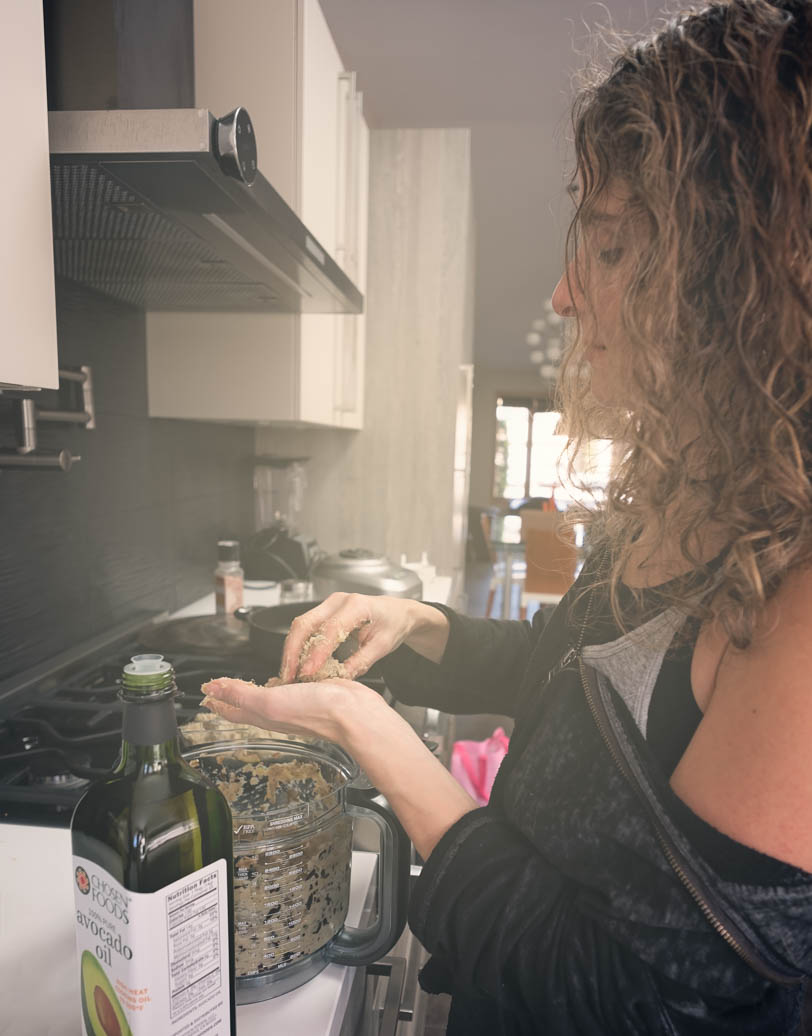
- Mix meat, chili, salt and pepper with your hands
- Roll the mixture into small balls
- Add the meatballs in the pot
- Add the sauce
- Cover the pan and cook for 10 mins
- Stir gently to coat the meatballs in sauce
- Cook 5 mins more, remove the lid and cook for 5 more mins
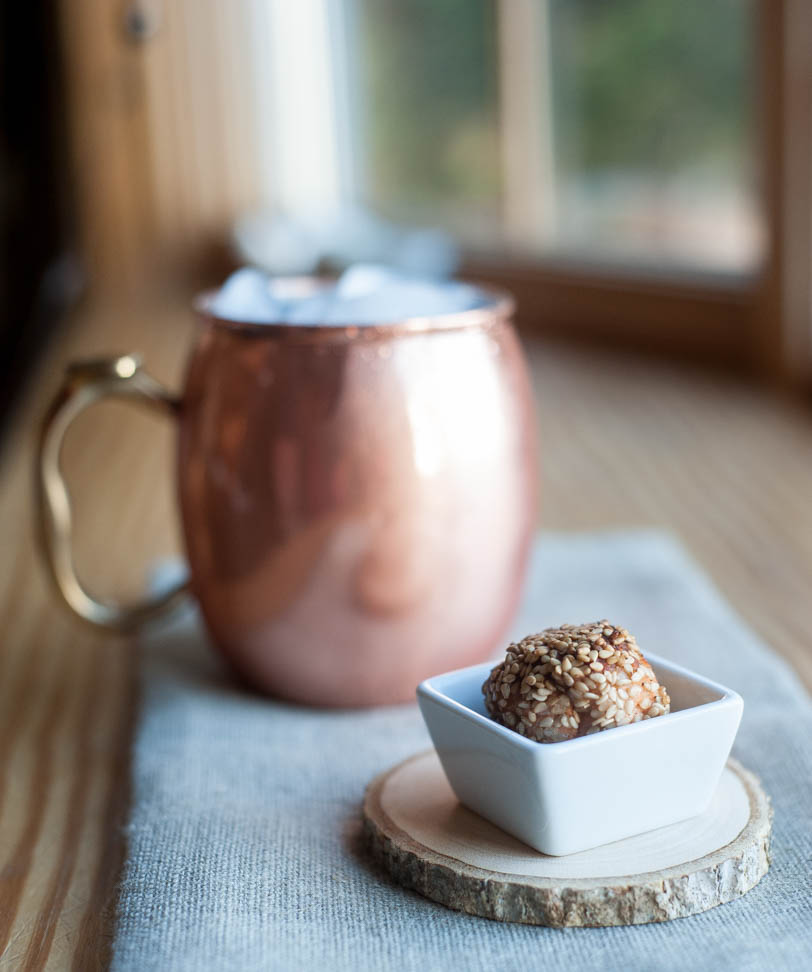
Drink Pairing
Did I say tequila earlier in this post? My favorite tequilas are Clase Azul Reposado and Fortaleza Anejo