Welcome to my hell.
Lets talk about asthma for a moment. I rescue a kitty and suddenly, BOOM, non-stop cough, tightness in my chest, breathing issues… So I see a doctor, who surprises me with a diagnosis – a case of kitten-induced Asthma.
Full house of inhalers, nose sprays, prescription bottles and I finally breathe normally! Until 6 months later… And then 3 months later again.
Fall 2014 arrives with another Asthma episode; but I come prepared! I spray, I inhale, I ingest, I repeat…. For a day, a week, a month… No progress?! I see my Dr again, who now surprises me with a brand new diagnosis – Acid Reflux.
I replace my asthma meds with a new set of shiny red-and-black striped pills. And go on a diet.
Now about hell.
I do not diet. I just don’t. I love food a little too much. Hence this blog :) I also like coffee. And wine… And my new diet denies me both!
After a week of caffeine withdrawals and headaches, I switched to Chamomile tea (shoot me now for I have been drinking this yellow nothingness for months). But giving up wine has been even harder; water just isn’t a good substitute in social settings! So once in a while I slip… and sip…. But not more than a glass or I start coughing and puffing.
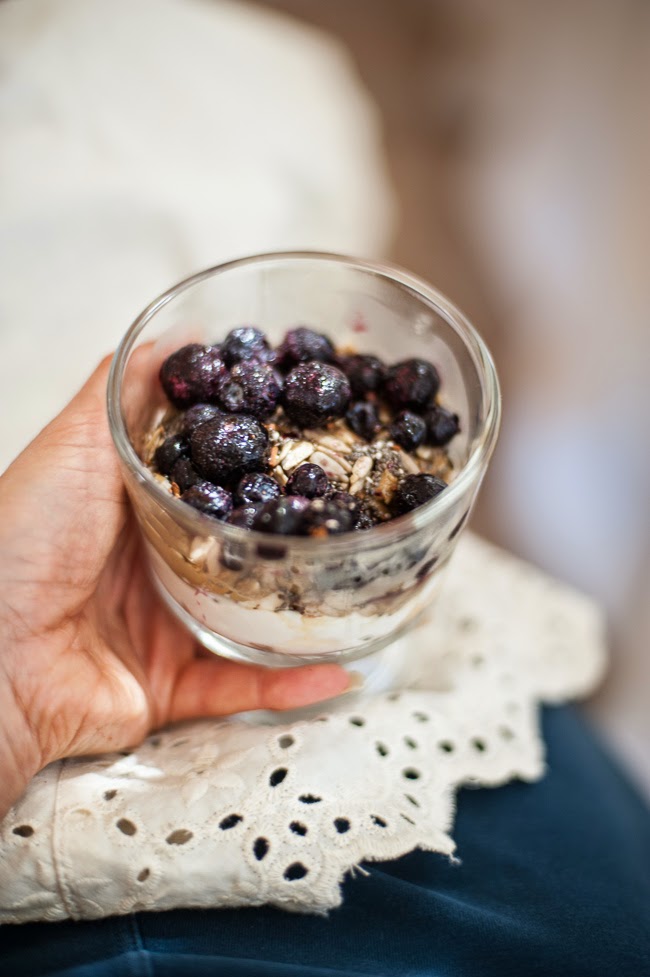
And after eating tasteless nothingness and feeling sorry for myself for weeks (who wouldn’t when not allowed cooking with fat, citrus, vinegar, tomatoes, onions, garlic, and spicy things), I decide to deal with my hell and start finding and redefining myself again.
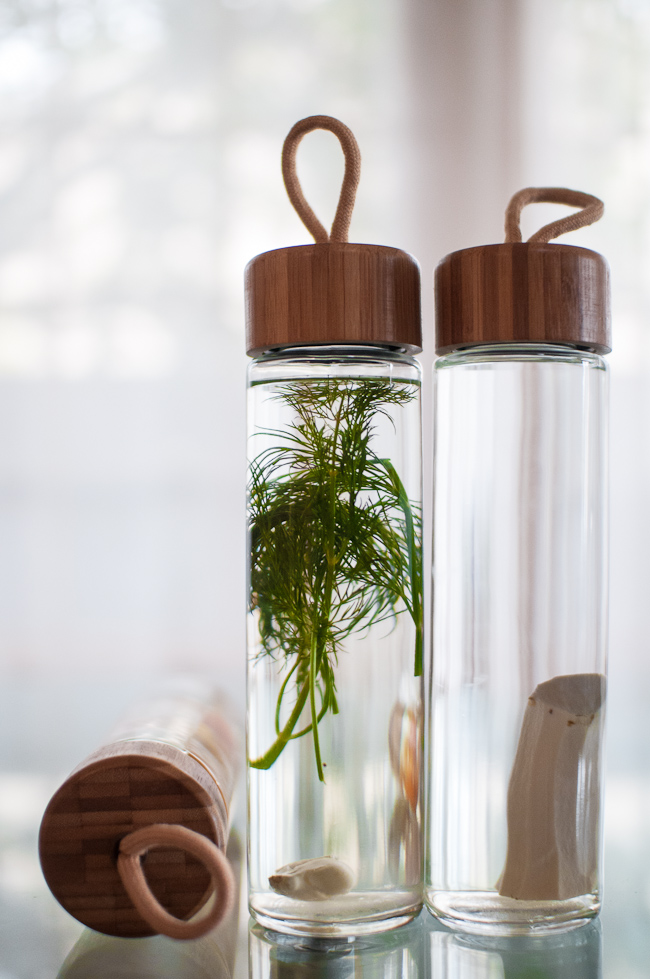
This post has been created out of desperation. This recipe was created out of necessity. That later caused inspiration to make delicious food even under strict limitations. And even after I fix my health problems, this and a few other new recipes will stay in my repertoire. Not only ‘till my next outbreak but for also in-between.
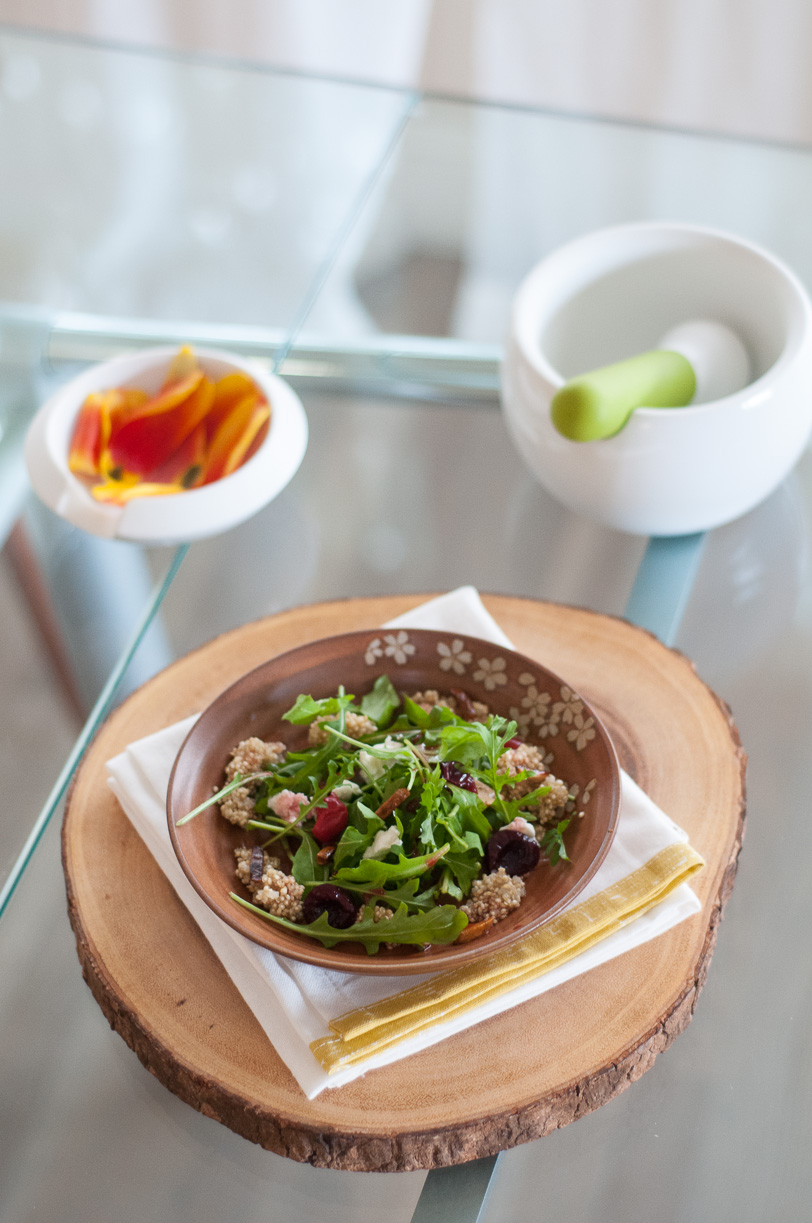
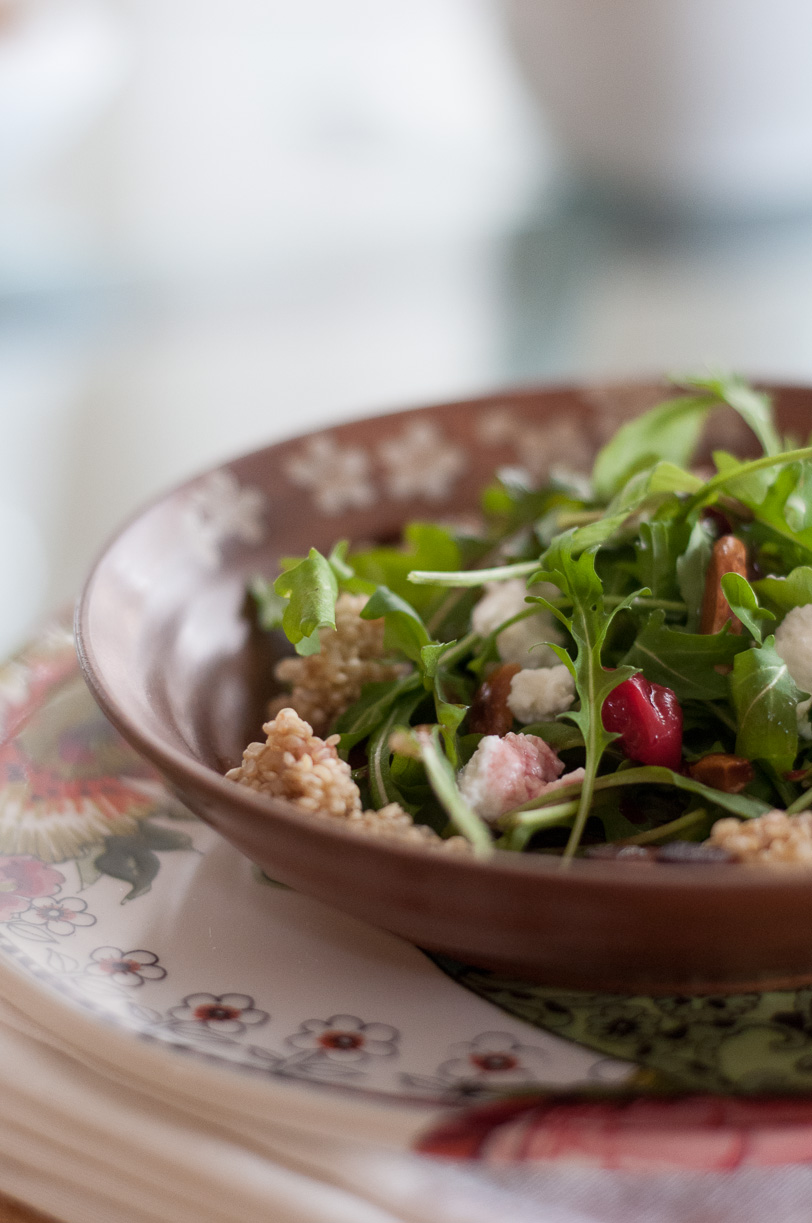
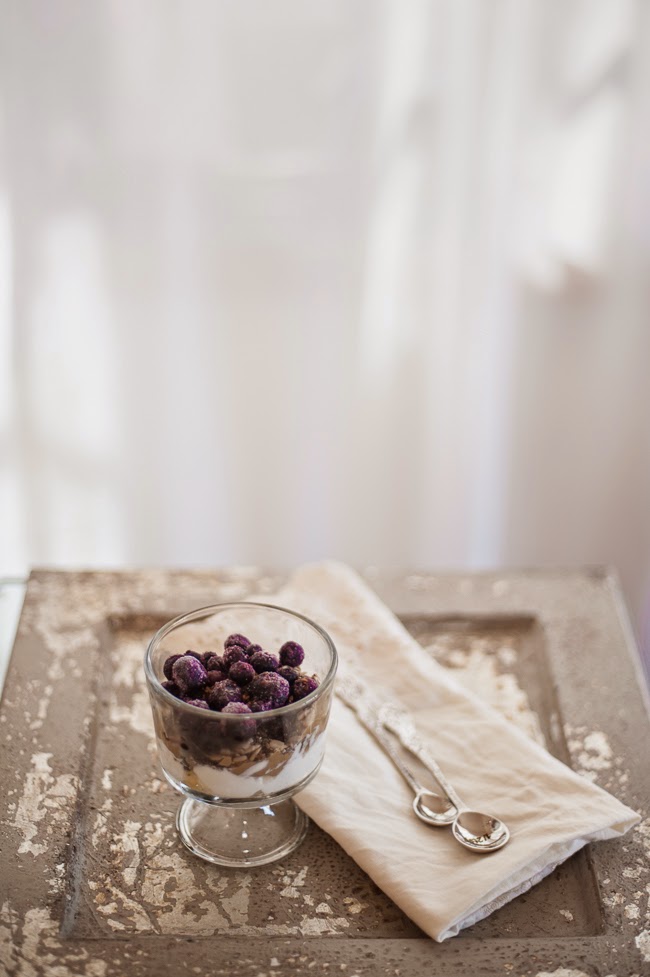
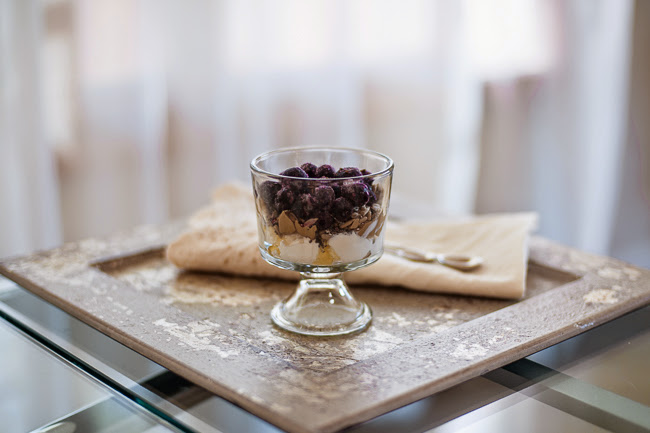
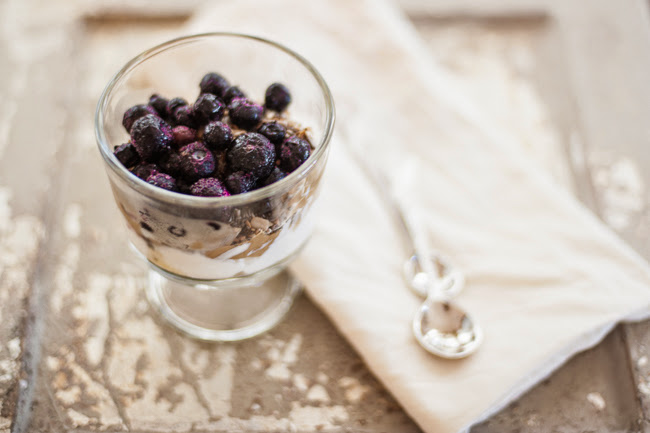
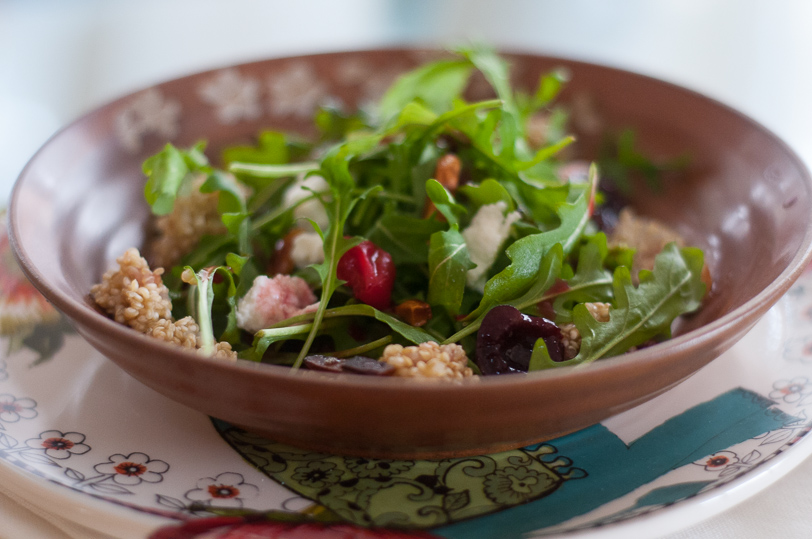
Goat Cheese Cherry Quinoa Salad with Almond and Basil Gremolata
Heavily adapted from Change of Appetite: Where Delicious Meets Healthy
I took an already delicious recipe of a light meal to a healthy substantial one I also modified the ingredients to fit my family’s taste. When I make this dish for myself only, I skip the acids. As for the herbs, feel free to replace cilantro with basil or even rosemary – both taste great.
Ingredients
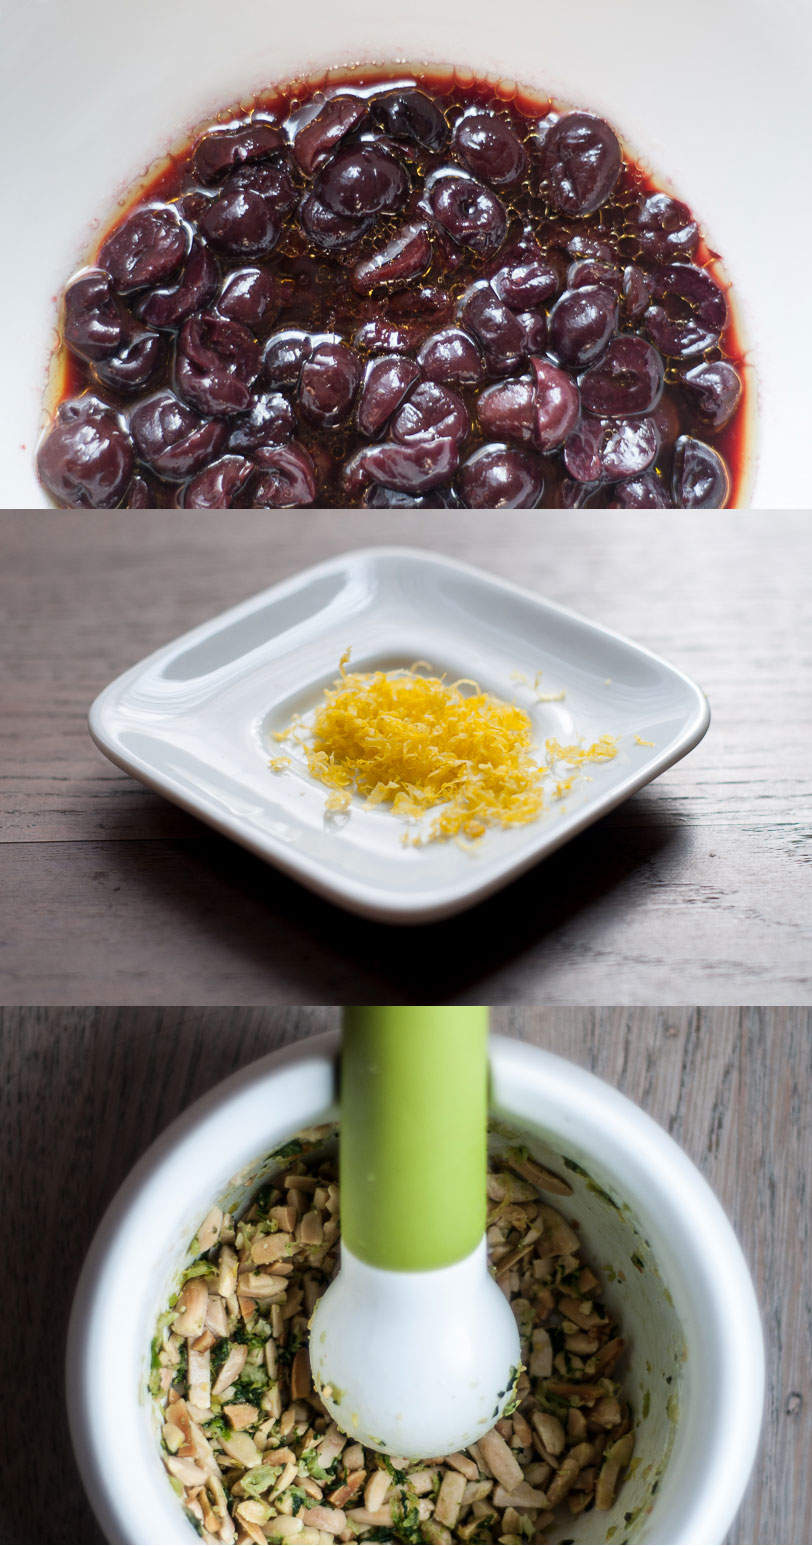
For the cherries
- 1lb frozen cherries (defrosted, preferably tart)
- 1 tablespoon cognac
- 2 teaspoons white balsamic vinegar
- 1 tablespoon lemon juice
- ¼ cup extra virgin olive oil
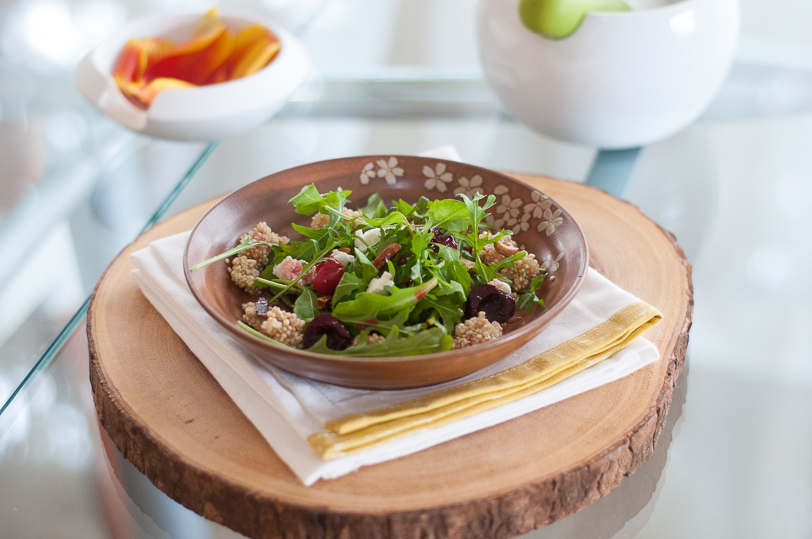
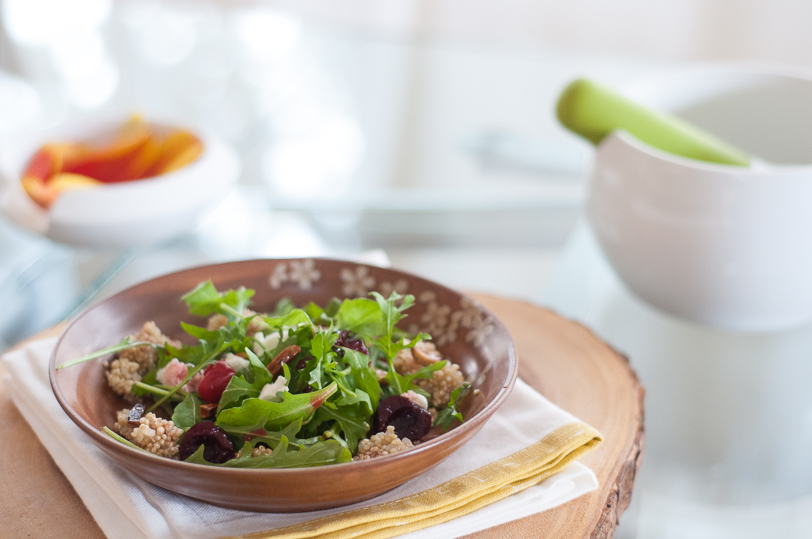
For the gremolata
- 1/3 cup blanched slivered or sliced almonds
- Finely grated zest of 1 lemon
- 1 garlic clove, very finely chopped
- ¼ cup cilantro
For the salad
- 6 oz goat cheese, crumbled into chunks
- 5 cups arugula (or spinach)
- 1-1.5 cup quinoa, cooked
- Salt and black pepper to taste
Directions
- Cut cherries in halves. Put into a bowl with all the other ingredients for the cherries, stir, and let stand for 30 minutes or more.
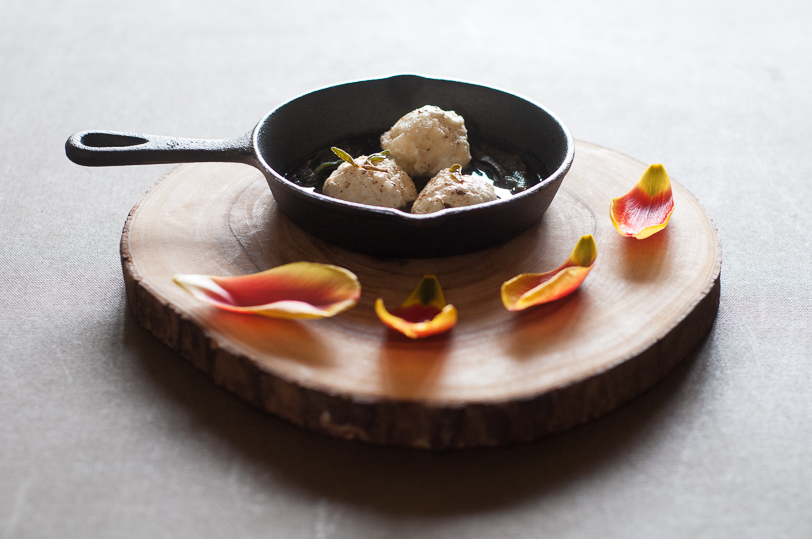
- To make the gremolata, toast the almonds in a dry skillet until golden brown. Let them cool. Crush the garlic and cilantro in the mortar with a generous pinch of sea salt until a paste forms, about 2 minutes. Add almonds and crush a bit more. Mix with a spoon and set aside.
- For the salad, toss the salad ingredients with the cherries and their macerating juice. Sprinkle with gremolata.
Wine Pairing
Sauvignon Blanc and Goat cheese are always the classic match! 2013 Hall Napa Valley Sauvignon Blanc from St. Helena (my backyard) is one of my personal favorites.