The other day, my son asked me, “Mom, what is the ONE food you miss eating the most?” Without hesitation, I replied, “Pasta!”
Pasta! I remember that trip to Italy, back in 1999, when I must have tried every single pasta dish in the city of Milan! And I felt sick every single time! I did not put 2 & 2 together until 10 years ago when I went low-carb. As it turns out, flour-based pasta is just not good for my digestion.
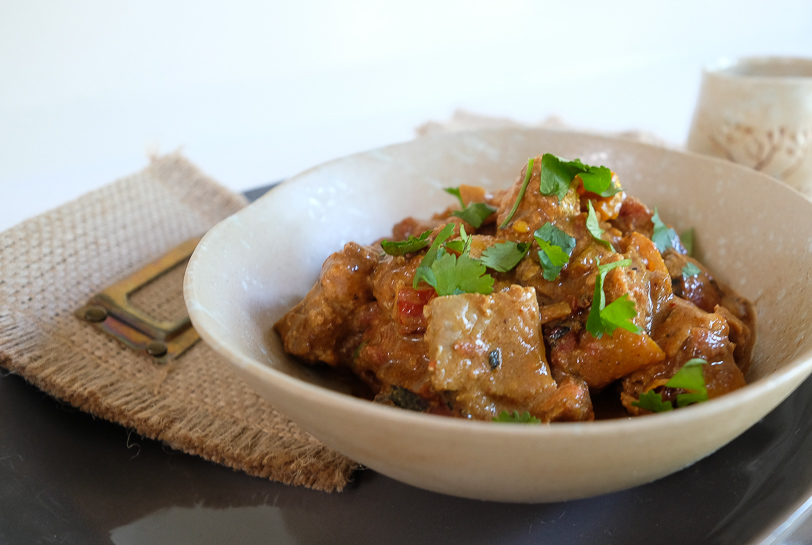
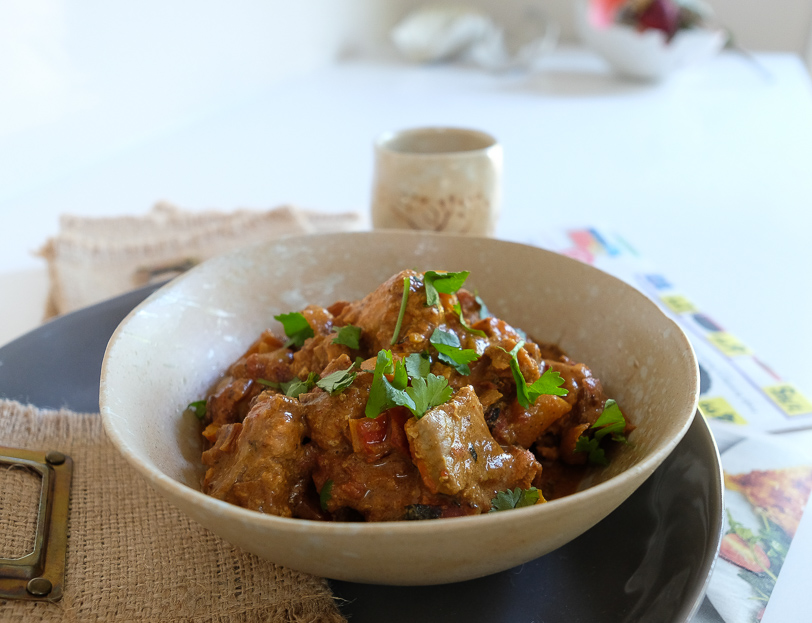
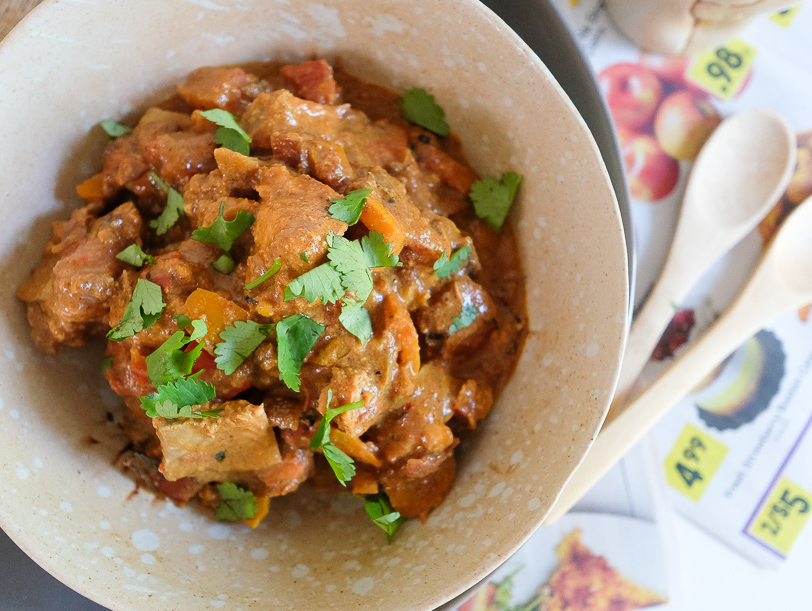
So I created a substitute. A pasta dish that is good for my belly, good for my tastebuds, and is just plain GOOD. Oh, and did I mention that it is also dairy-free?

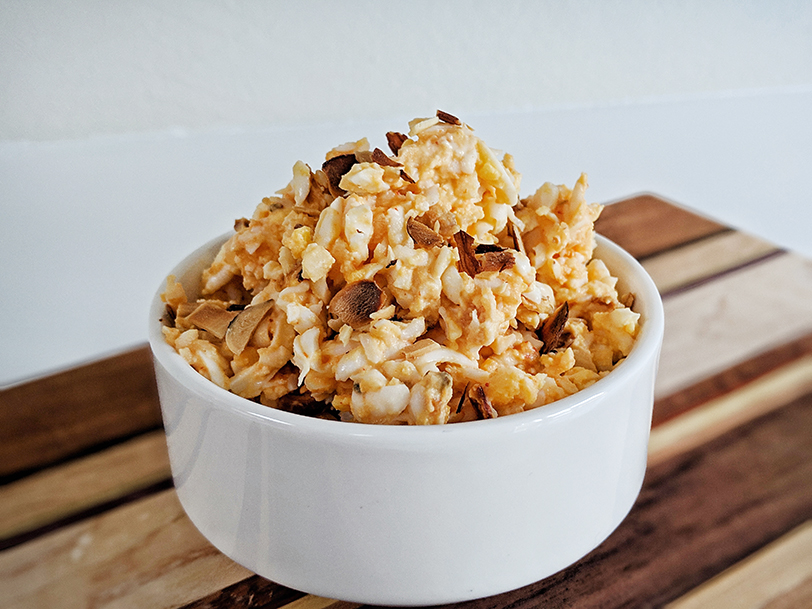
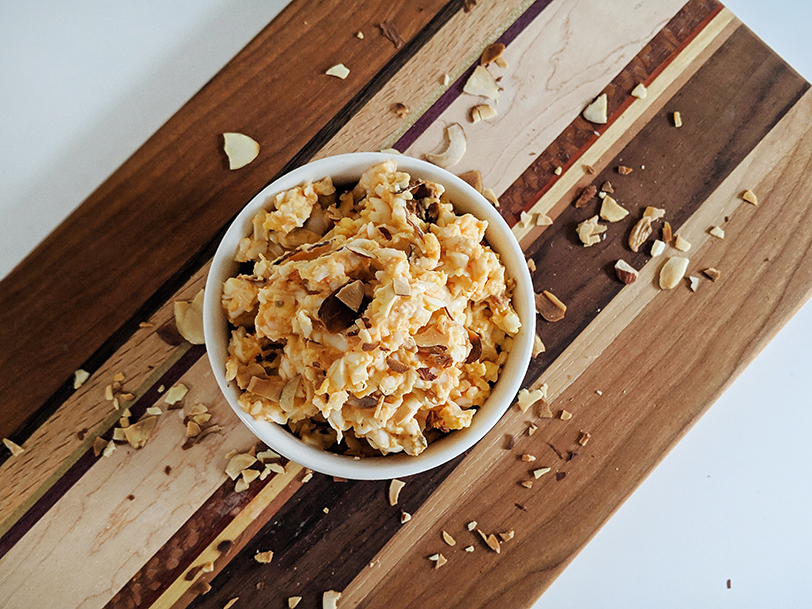
Palmini Carbonara (Paleo)
Ingredients:
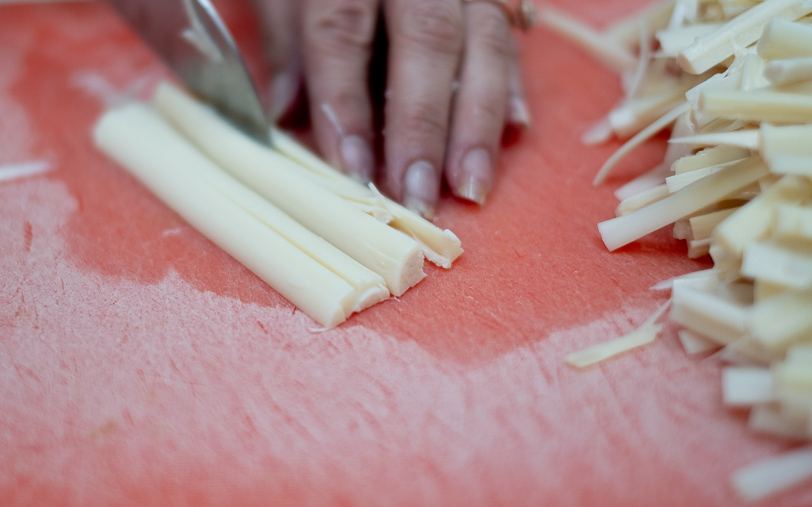
- 1 14-oz can Hearts of Palm (if you don’t want to “slice” your own pasta, buy a can of Palmini, which is considerably more expensive)
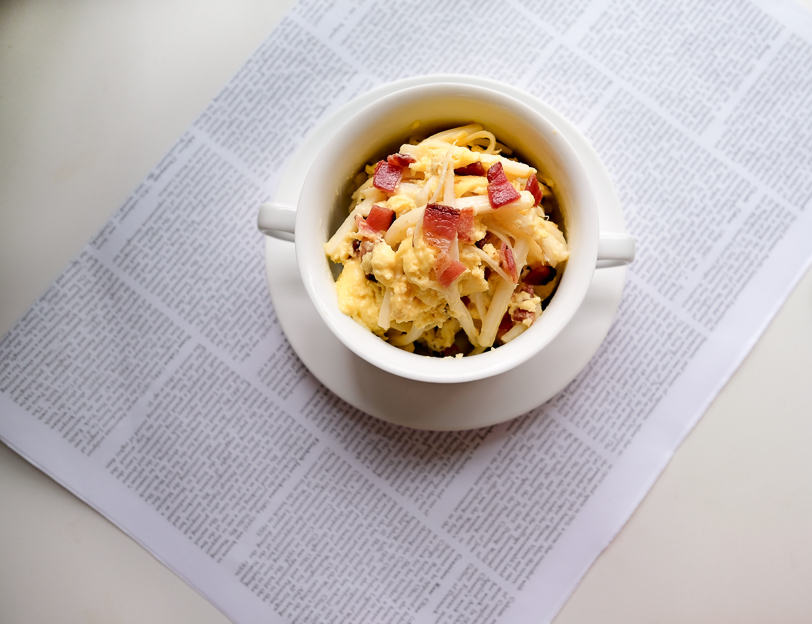
- 4 slices cooked Bacon or 10 pieces Turkey Pepperoni
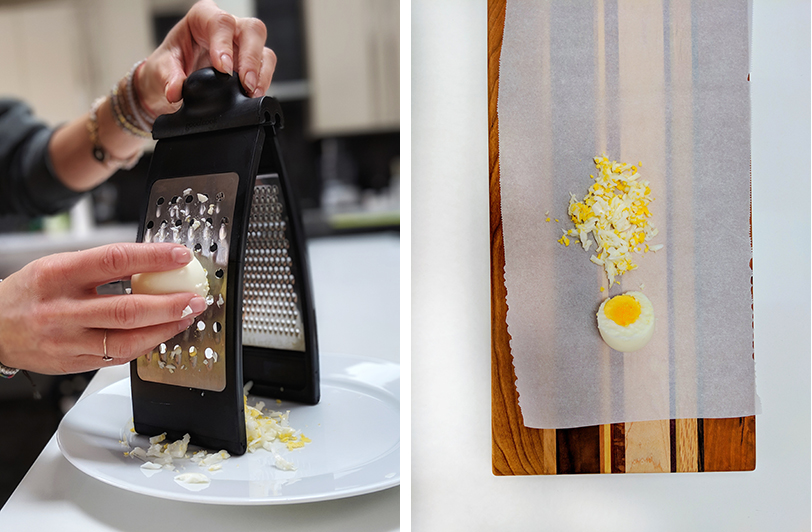
- 4 Egg Yolks
- 1 whole Egg
- 2 tbsp Avocado Oil
- 2 tbsp Bacon Fat (optional, reserved from cooking Bacon, for flavor only)
- 2 clove Garlic, crushed
- Salt, Pepper, and Smoked Paprika to taste
Instructions
- Cut Bacon or Pepperoni into 1/3 inch-size pieces
- In a blender, blend Egg, Egg yolks, Garlic, Salt, Pepper, and Bacon Fat (if using) until nice and creamy
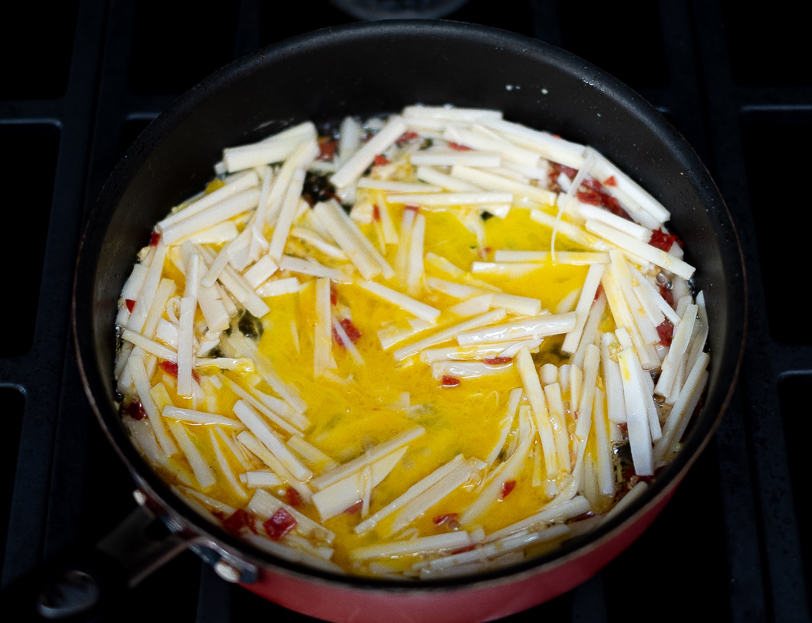
- In a large skillet heat the Avocado Oil over medium heat
- Add Palmini Pasta and stir-fry for 2 minutes
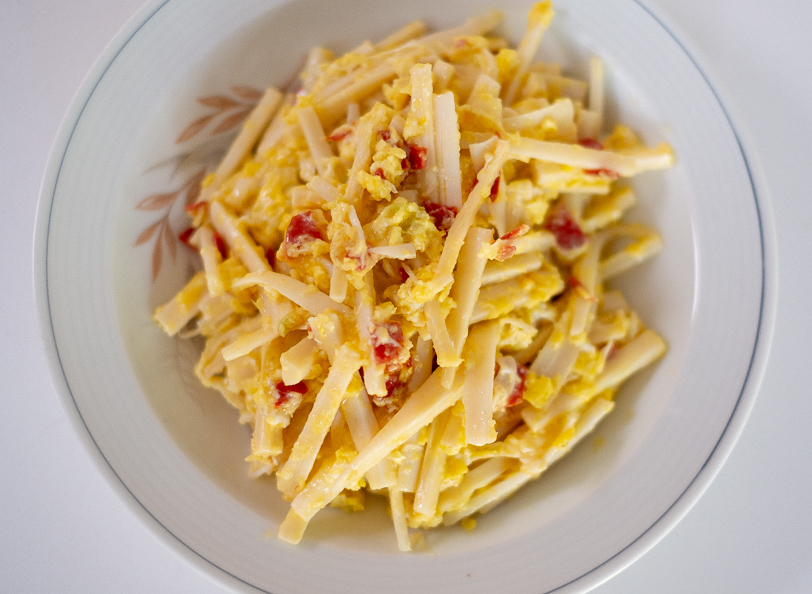
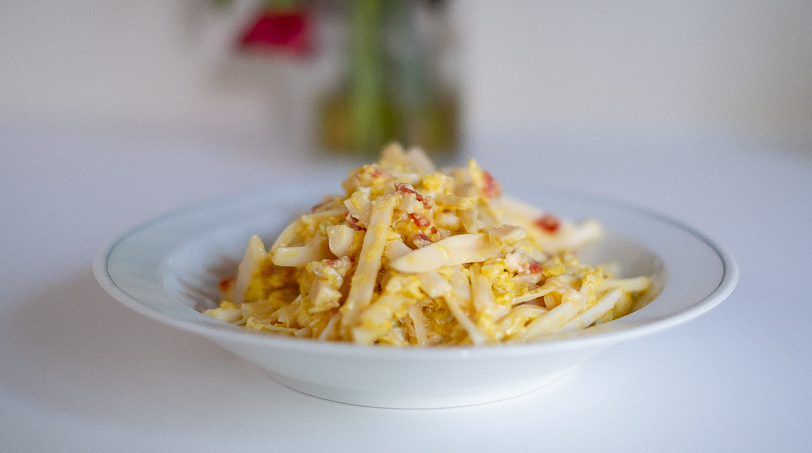
- Turn the heat off, add the egg mix, drizzling and stirring quickly, so it doesn’t scramble. Add Bacon (or Pepperoni) bits and give it a final stir
- Serve right away
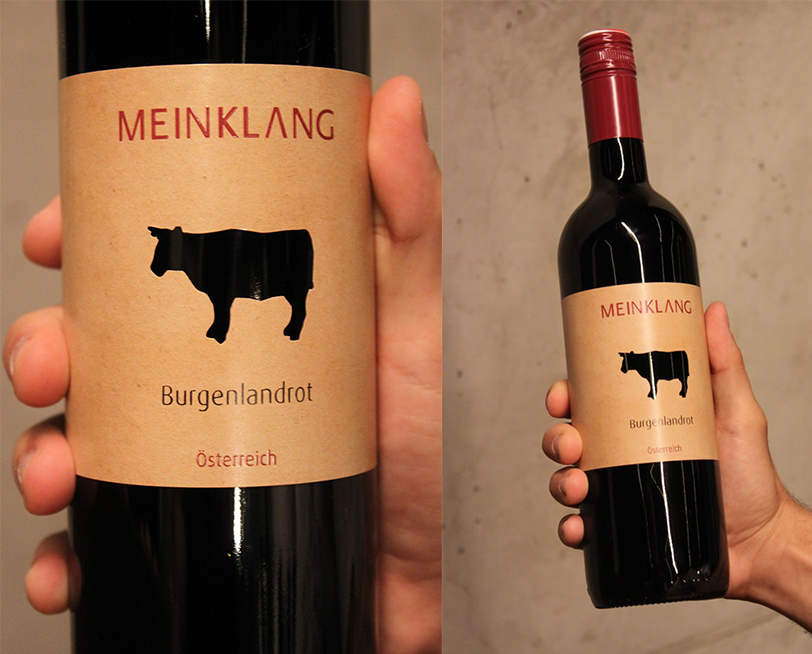
Wine Pairing
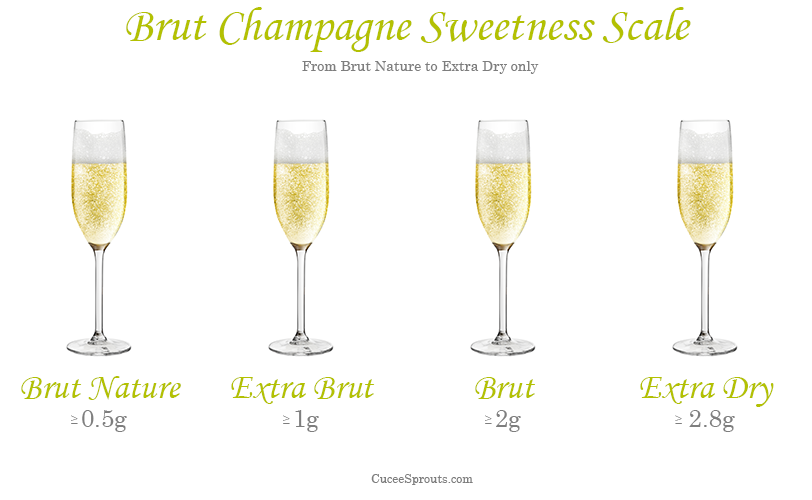
I really enjoyed a glass of crisp dry Cava Brut Nature Reserva from Dry Farmed Wines. Low in carbs (less than 1 gram of carbs per bottle), I enjoyed a glass of bubbly with zero guilt bubbling up for me
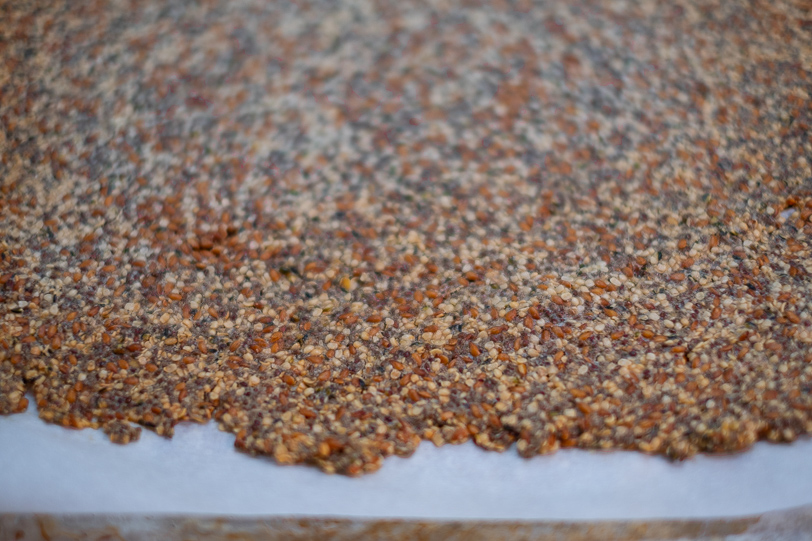
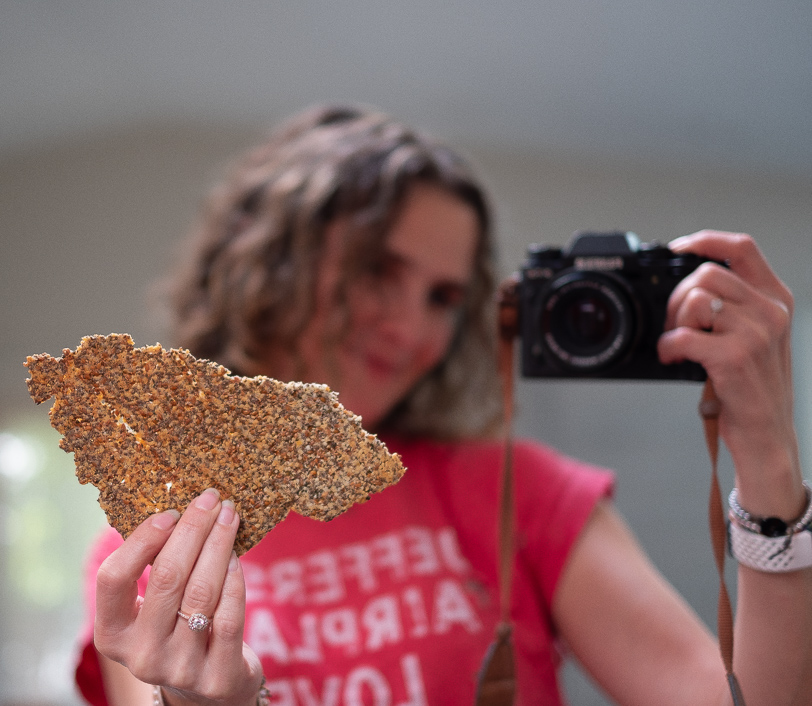
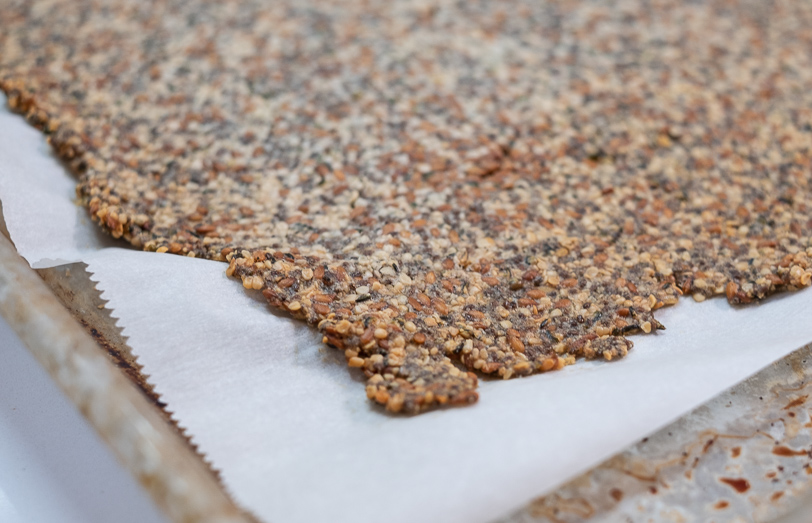
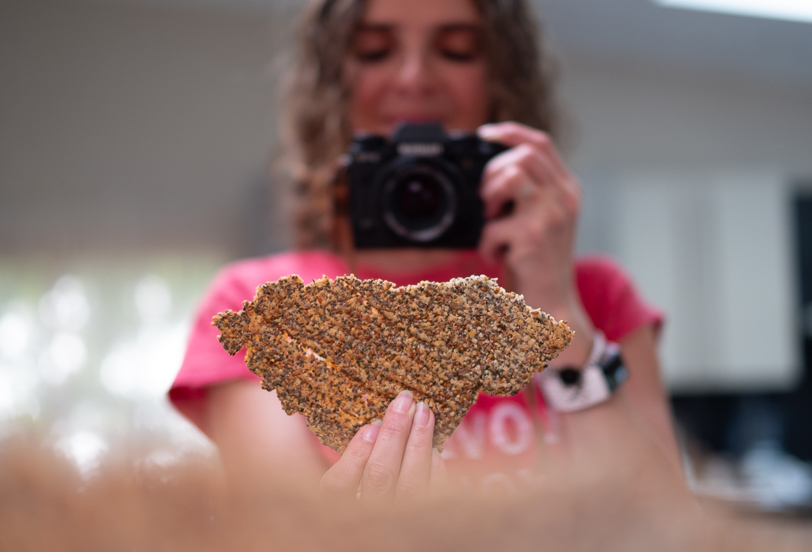
 It’s Cracker Time!