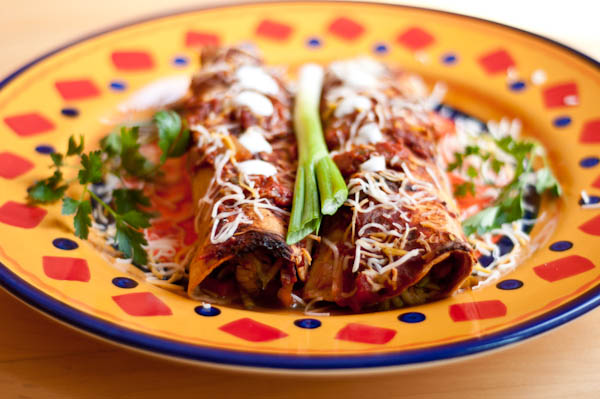
Zucchini and Olive Enchiladas

Zucchini and Olive Enchiladas with Sour Cream, Cilantro and Green Onions

It happened to me on the day I met my daughter…

My water broke in the morning. I was in the middle of my contractions, scared but excited of becoming a mother for the first time.  Suddenly, I realized that I was dying for some good old Mexican food. Yep, that is me – thinking about food at the most inappropriate times.

I had been warned about a no-food policy for women in labor. Getting to the hospital too early meant meeting my daughter on an empty stomach.  Getting there too late meant going through a rather painful labor without the epidural.  I was faced with a very difficult decision to make.  So, with the frequency of my contractions down to only 5 minutes, my husband and I headed to a local burrito joint. There, I bought the largest steak burrito on the menu and gobbled it down in less than two contractions. Later that night, Mika was born.

Yes, I really like Mexican food. I love burritos, tortilla soups, enchiladas, guacamole, fish tacos, salads, you name it…. Before children, we frequented Mexican restaurants and taquerias, often indulging in hearty but not so healthy cuisine.  Since then, I have adapted many Mexican dishes to make them both kid friendly and healthy. I make to-die-for vegetarian enchiladas, a super-authentic-but-half-the-salt tortilla soup and a gimme-seconds-please veggie taco salad.

Here is a recipe of the delightfully unique healthy enchiladas that my son loves just as much as I do (or maybe even more.) This recipe makes a lot (leaving you with over 2 days worth of leftovers.) You can make the sauce 2 days in advance and assemble everything the day you serve these delicious baked wraps. Or, if you don’t want to make so much all at once, you can roll the entire batch in advance and bake portions over several days.
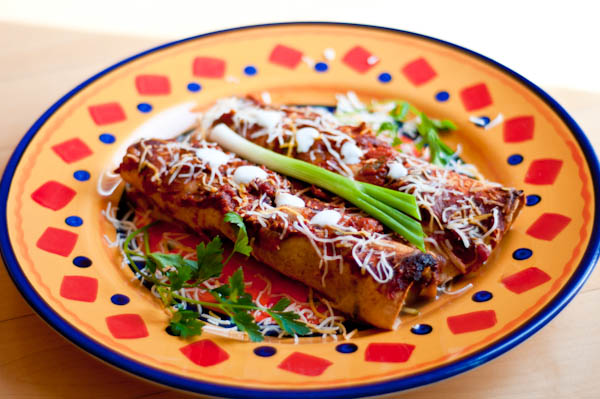
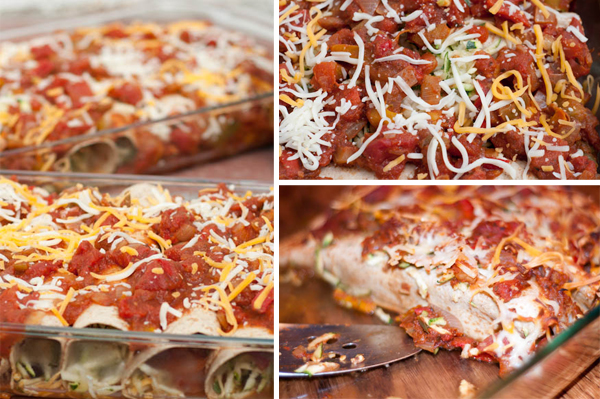
Zucchini and Olive Enchiladas with Sour Cream, Cilantro and Green Onions
Zucchini and Olive Enchiladas

Zucchini and Olive Enchiladas

Adapted from The Gourmet Potluck
Serves 12

Ingredients

Chunky Tomato And Bell Pepper Sauce

Enchiladas

  • 15 large fresh whole wheat tortillas
  • 4 lbs zucchini, coarsely shredded
  • 2 (2.5-oz) cans sliced black olives (I used organic kalamata olives)
  • 3 cups shredded Cheddar cheese or a mixture of Cheddar and Monterey
  • 1 pint sour cream, for garnish (optional) (I used nonfat Greek yogurt)
  • ½ cup minced cilantro, for garnish

Serving Equipment

Directions

For Sauce

  1. Heat the olive oil in a 3-quart pan over medium heat.
  2. Add the onion and peppers and sauté until soft, about 10 minutes.
  3. Add the remaining sauce ingredients and stir to combine.
  4. Simmer for 30 minutes, until thickened, stirring occasionally.
  5. Removed the bay leaf. (If making ahead cool and refrigerate. Then just before assembling the enchiladas, warm over medium heat until hot.)

For Enchiladas

  1. Put tortilla on a plate and place a heaping 1/3 cup of grated zucchini, a few slices of olives and 1-2 tablespoons of cheese in the middle.
  2. Roll the tortilla up and place it seam-side down in 1 of the casseroles.
  3. Repeat to fill the remaining tortillas, laying them side by side in the casseroles.
  4. Pour the sauce over the tortillas, laying them side by side in the casseroles. Pour the sauce over the tortillas and sprinkle the top with the remaining cheese. (If making ahead, the enchiladas can be covered and refrigerated at this point, up to 12 hours. Allow the casseroles to return to room temperature before baking, about 1 hour.)
  5. Preheat the oven to 350 F. Bake, uncovered, for 30 to 40 minutes, until bubbling hot. Serve hot from the oven or warm. Or cool to room temperature, cover, refrigerate, and reheat on site.
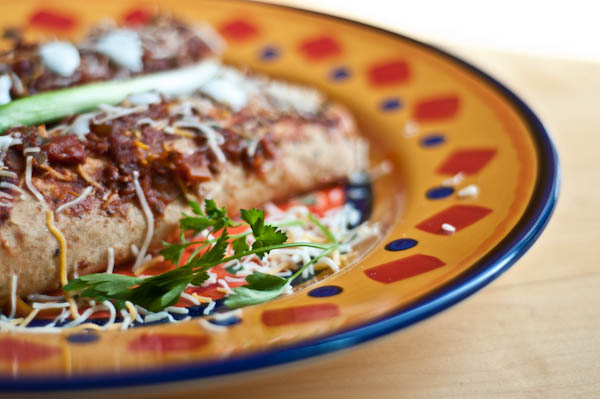
Zucchini and Olive Enchiladas with Sour Cream, Cilantro and Green Onions

Wine Pairing

Even though I am not much of a beer drinker, beer compliments these mild cheese enchiladas very well. I would suggest Santa Fe Pale Ale for a southwestern touch. But if you still want a glass of wine, try Parducci Small Lot Blend Chardonnay Mendocino County
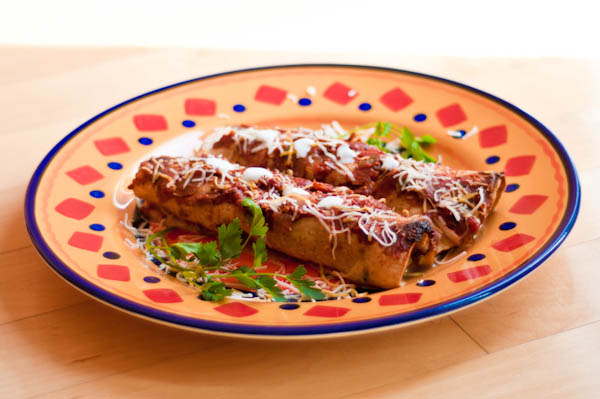
Zucchini and Olive Enchiladas

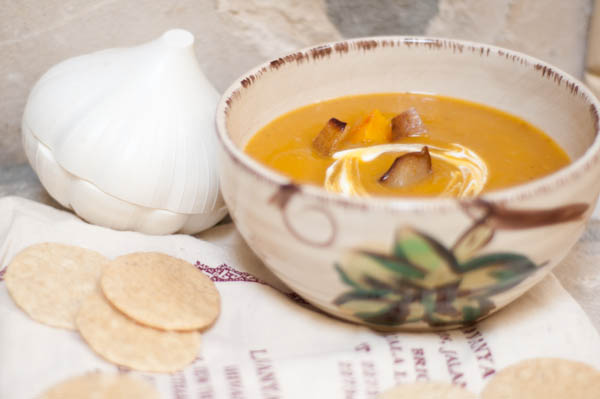
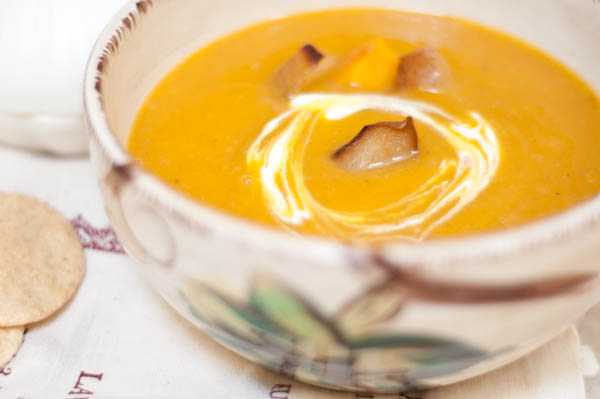
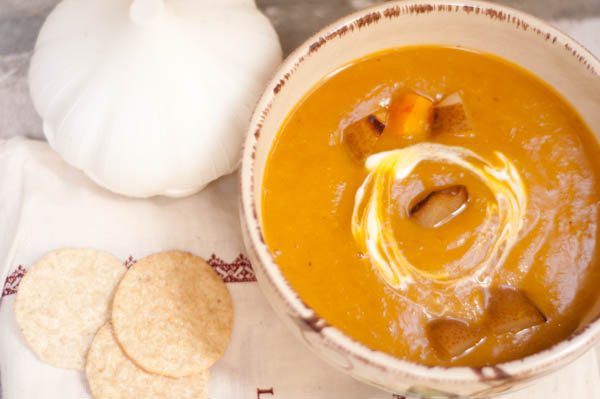
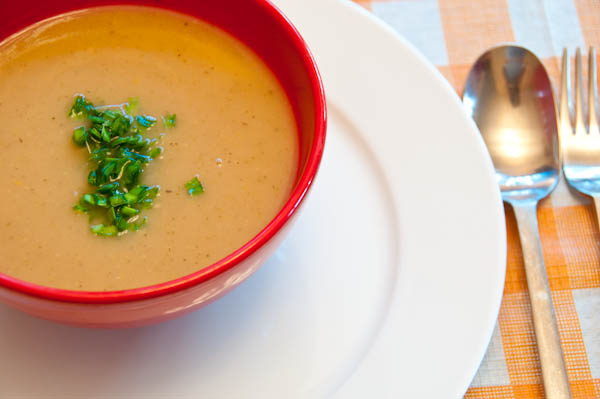
Roasted Squash, Pear, and Ginger Soup

Roasted Squash, Pear, and Ginger Soup

I’ve collected quite a few squash recipes over the years. This one is my new favorite. The soup is easy to make and only requires a few key ingredients that you are likely to have at home.

Sweet and zesty, it satisfies my fall comfort food cravings. As an added bonus, the soup is low in salt and high in antioxidants. Try it out and let me know what you think.

Roasted Squash, Pear, and Ginger Soup

Adapted from Vegetable soups from Deborah Madison kitchen

Ingredients

  • One 2 1/2-pound Buttercup, Perfection, or other dense winter squash, rinsed
  • 3 ripe but firm pears, any variety, quartered, seeds and stems removed
  • 1 chunk fresh ginger, about 2 inches long, thinly sliced
  • Sunflower seed or olive oil for squash
  • Sea salt
  • 2 tablespoons butter or sunflower seed oil
  • 1 onion, thinly sliced
  • 1/2 cup sour cream, optional

Directions

  1. Preheat the oven to 425F. Cut the squash in half, scrape out the seeds and save them. Cut each half into thirds. Put squash (without the seeds) in a large baking dish or roasting pan with the pears and all but a few slices of the ginger. Brush oil, season with salt, and bake until fragrant and tender, about 1 hour. Turn the pieces once or twice so that they have a chance to caramelize on more than than one surface. If the squash seems very dry (some varieties are), add 1 cup water to the pan to create steam and cover with foil. When the squash is tender, transfer everything from the pan to a cutting board, add 1 cup of water to the pan, and scrape to dissolve the juices, reserving the liquid. Scrape the flesh of the squash away from the skins. You should have about 2 cups.
  2. To make stalk, bring 6 cups water to a boil and add seeds and eventually the skins, the remaining ginger, and 1/2 teaspoon salt. Lower the heat and simmer, covered, for 20-30 minutes.
  3. Meanwhile, melt the butter in a soup pot. Add the onion, give it a stir, and cook over medium-low heat, stirring frequently, until it begins to brown a bit and is flagrant, about 10 minutes. Add the ginger, pears, and squash then deglazing water. Strain the stock into the pot. Bring to a boil, then lower the heat and simmer, covered, for 25 minutes. Cool briefly, then puree until smooth and pass through a food mill or a strainer to ensure a silky texture. Serve as is or a swirl in the sour cream.
  4. For presentation, dice a pear or an apple, sprinkle with a little sugar, and caramelize in a little butter or oil.
Roasted Squash, Pear, and Ginger Soup

Wine pairing

Medium-bodied Naked Winery Complicated Viognier wine is aromatic and fruity, complimenting very well with this wonderful fall soup.

Roasted Squash, Pear, and Ginger Soup

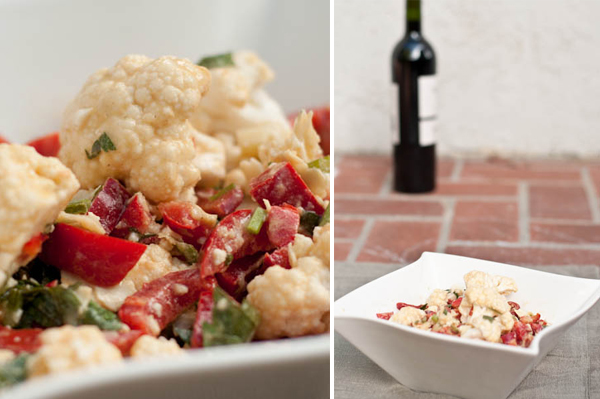
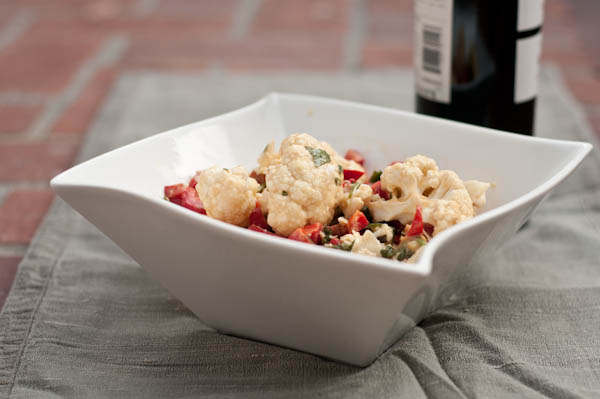
Marinated Cauliflower Salad

Marinated Cauliflower Salad

My name is Cucee Sprouts and I am addicted to Cauliflower. There are many chocoholics, carboholics, sushiholics out there. Well, I am a Cauliholic.

I have all the signs of being an addict:

  1. I cannot go for more than a week without a cauliflower dish
  2. I cannot be trusted around cauliflower – I can finish two days worth of it in one sitting
  3. I have to have at least one extra head of cauliflower stashed in my fridge, just in case (currently, I’ve got 3)
  4. I can be talked into all sorts of unorthodox behavior while enjoying my cauliflower. On Thursday, my kids talked me into baking a desert – at 9 pm!
  5. I constantly search for new cauliflower recipes, even though I already have close to 30

Well, it’s Monday and the week is off to a good start. Tonight, we are having a Mediterranean dinner. The star of the meal – Marinated Cauliflower. Slightly tangy, tastefully crunchy, and refreshingly light, it has become a favorite of many that tried it, including my sister-in-law Svetlana. Sveta, this recipe is for you!

Marinated Cauliflower Salad Recipe

Adapted from September 2010 issue of Vegetarian Times

Marinated Cauliflower Salad

Ingredients

  • 2 tbsp lemon juice
  • 1 tbsp mustard
  • 1 clove garlic, minced
  • 1 tsp olive oil
  • 8 oz cauliflower
  • 1 large red bell pepper, finely diced (but you can use a lot more – just double the dressing if you do)
  • 2 tbsp parsley, chopped fresh
  • 2 tbsp Parmesan cheese (optional)

Directions

  1. Whisk together lemon juice, mustard, garlic and oil in small bowl. Toss with cauliflower in large nonreactive bowl, cover and refrigerate 4 to 8 hours. Stir 1 or 2 times while marinating.
  2. Stir bell pepper and parsley onto marinated cauliflower. Sprinkle with shaved Parmesan.

Wine pairing

Believe it or not, we are not having wine tonight. With all the Rosh Hashanah celebrations and birthday parties, we have drunk way too much wine last week and need a greatly needed break. However, I still have a perfect suggestion for wine – a crisp, fruity and memorable Riesling

Cucee is Cooking: Vegan Challah

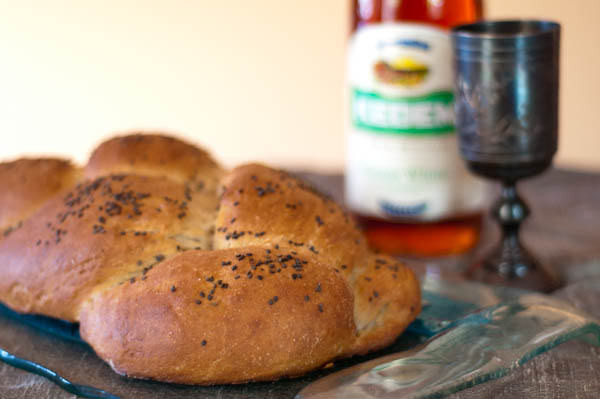
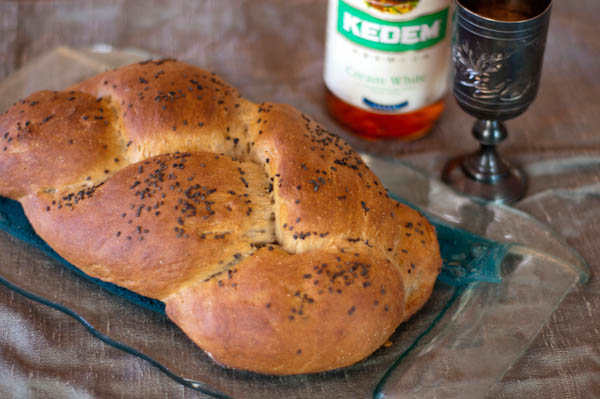
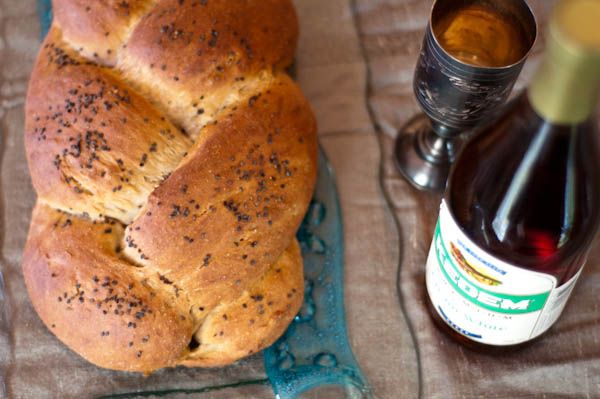
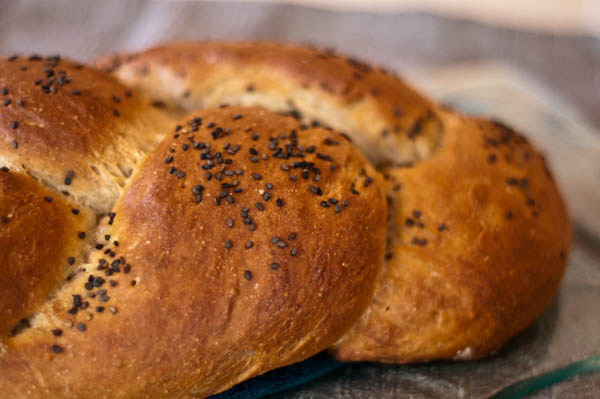
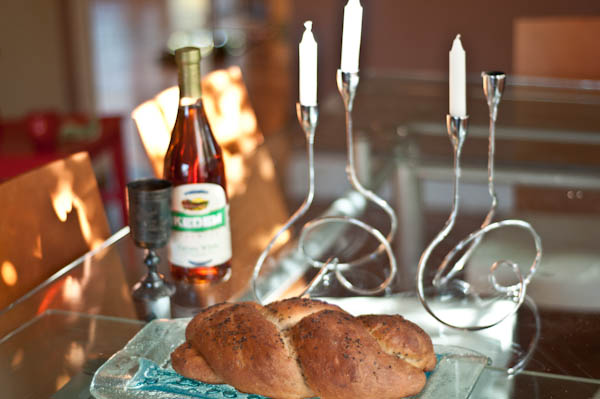
I did it – I made my very first loaf of bread (well, more like 2 full-size loafs and 3 minis.)

I have to admit, I’ve always been intimidated by bread making. Yeast scared me, working with dough scared me, bread-making lingo scared me… However, on Friday, I faced my fears… I went to Whole Foods, bought my first 3 packets of yeast and gave Challah making a try. Guess what? The yeast activated, the dough rose, and the loaf did not burn. I am definitely going to share a recipe with you but I’d like to perfect it a bit. I want to make it taste  just like real egg Challah, only Vegan and healthier.

Here are a pictures of my first bread experiment.

Vegan Challah
Vegan Challah
Vegan Challah
Vegan Challah
Vegan Challah
Vegan Challah
Vegan Challah
Vegan Challah
Vegan Challah - Shabbat Shalom and Happy Rosh Hashana

Vareniki (Вареники)

Le Shana Tova

Happy New Year to all my Jewish friends. May this year bring peace and a world filled with happiness, laughter and love. Leshana tova tekatev v’techatem.

Healthier Vareniki
Healthier Vareniki

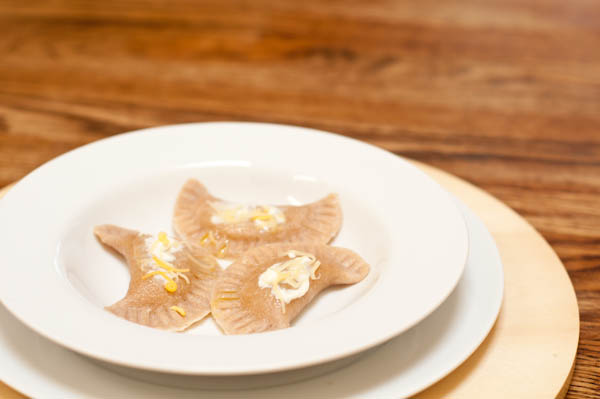
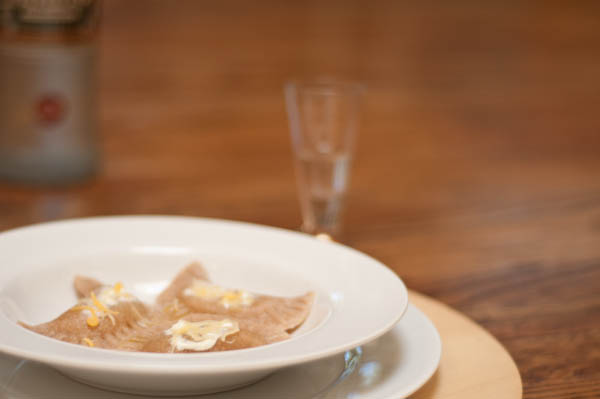
Tonight, for Rosh Hashana, I am serving Vareniki (варе́ники.)

Vareniki is the ultimate comfort food for me. Both my husband and I grew up on these to-die-for ravioli-style Russian dumplings, stuffed with mashed potatoes and caramelized onions.

I definitely know a good Varenik when I see one. Savory yet mildly sweet, tender but not too mushy, a good Varenik stands out in a crowd.

Admittedly, Vareniki are not the healthiest of foods. So, as tempting as it may be, I do not recommend eating a whole pot of them at once.  In addition to my recommendation to practice moderation, I have also tried to healthify the original recipe by eliminating the eggs, cutting down on butter, and replacing white flour with whole wheat.  I think that my prayers about not sacrificing too much of the taste were answered. These Vareniki are definitely reminiscent of those by Grandma Eva, who by far makes the best Vareniki in the world.

Vareniki (Вареники)

This recipe is dedicated to grandmother Eva, one of the best cooks that I know, with my sincere wishes for her fast recovery in this coming year.

Dough

Ingredients

  • 2.5 cups whole wheat flour
  • 4 tablespoons grape seed oil
  • Pinch of salt
  • 1 cup potato water (from pot with boiled potatoes)
  • 1/2 small potato, cooked and mashed

Directions

  1. Mix flour with water. Add salt and mashed potato.
  2. Knead the dough. If the dough is too sticky, add more flour. Roll into 4 ball, cover and let sit for 15 minutes.

Filling

Ingredients

  • 2.5 large potatoes (baking potatoes are a good size)
  • 2 tablespoons butter
  • ¼-½ lb  75% reduced fat cheddar
  • 2 onions, finely chopped
  • Salt and pepper

Directions

  1. Sautee onion in butter over low-medium heat until lightly browned (about 30 minutes.)
  2. Add mashed potatoes. Mix well.
  3. Season with salt & pepper.

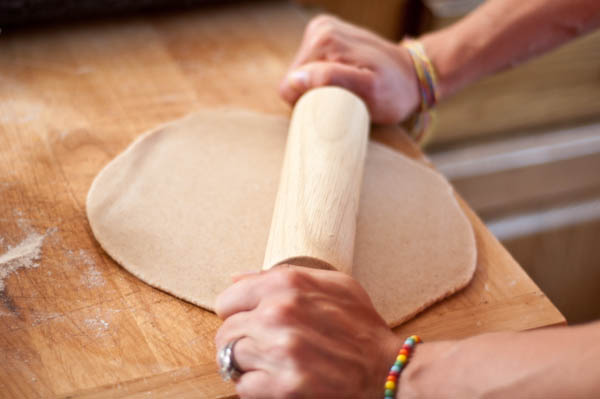
Rolling the dough
Rolling the dough

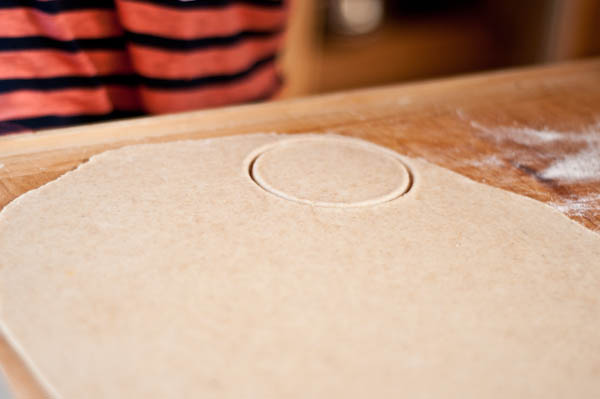
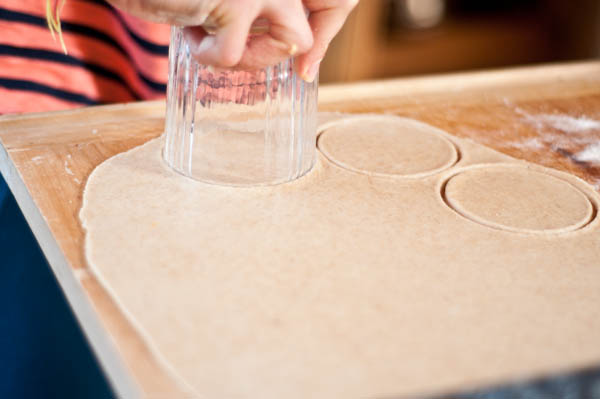
Cutting the dough
Cutting the dough
Cutting the dough
Cutting the dough
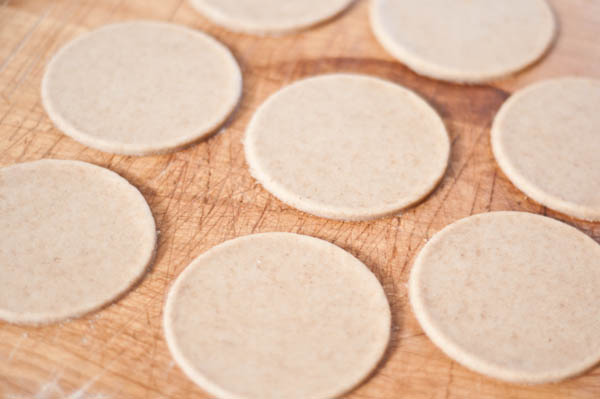
Dough circles
Dough circles
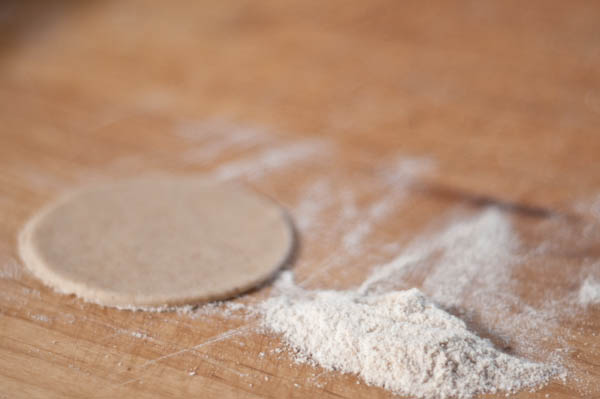
Dough circle
Dough circle
Filling Vareniki
Filling Vareniki
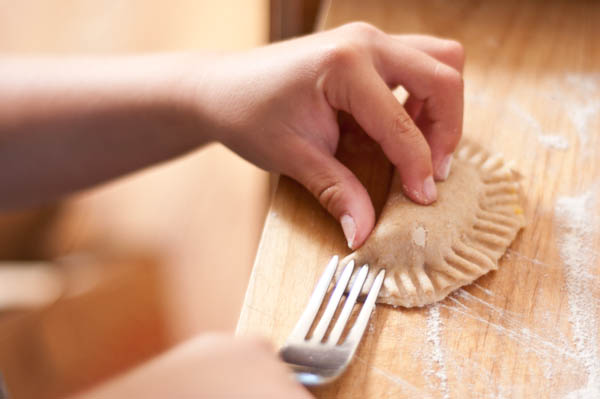
I am showing my daughter how to seal Vareniki with my fingers
My daughter is sealing Vareniki
Vareniki are ready to be boiled or frozen
A close-up of Vareniki
Final product
Вареники - ready to eat!

Putting it all together

  1. Roll out the dough so that it is very thin (1/8”)
  2. Cut out circles with a wide water or wine  glass
  3. Fill each medallion with about 1 tablespoon of the filling
  4. Fold dough over to make half moons. Press around edges with a finger, and then with a fork. Make sure that the filling doesn’t ooze out
  5. At this point, you can either freeze Vareniki or boil them
  6. Bring a pot of water to a rolling boil; add a pinch of salt
  7. Add Verniki into the pot, one by one
  8. Boil for 4 minutes. Cooked Vareniki will float to the surface when done
  9. With a slotted spoon, fish out the Vareniki and place them on a plate
  10. Top with sour cream and shredded cheddar cheese or drizzle with olive oil and caramelized onions

Wine… excuse me, Vodka pairing

For Rosh Hashana, we are planning to have these with a few shots of Russian Standard Vodka

Vareniki
Vareniki

Shaved Brussels Sprouts Salad

I am Cucee Sprouts and I am proud to be a Sprouts. I come from a family of many distinguished vegetables and I can trace my roots all the way back to the early days of farming, to the time of Sprouts Senior.

Sprouts Senior
Sprouts Senior

This is Sprouts Senior, named Brussels, the first member to be recorded in our family history. Many seasons ago, as an organic seed, he was taken by the wind into a field that belonged to a large conventional farm.  There, he sprouted into a handsome young vegetable. Growing up, he always felt different from the other vegetables. His petite shape, savory personality and layers of complexity made him stand out like a thorn amongst his tasteless, genetically modified neighbors.

One night, after shaking off the drops of toxic insecticide, he fell asleep and had a very strange dream. He dreamt of a different world, a place that was unlike anything he was used to. He dreamt of a farm that respected its crops, a farm that valued uniqueness and individuality of each and every vegetable. (Only much later did he realize that this was not a dream at all but rather a fainted memory of the farm from which he, a tiny seed, was taken by a bad weather storm weeks ago.)

The next few days, the memory of his home farm grew more vivid.  After a while, he was so depressed that he could not absorb water, soak up chemicals, and synthesize carbon dioxide into sugar and oxygen. Finally, he realized that it was time to “come home.” One morning, as the falling moon flirted with the rising sun, Brussels, pumped on insecticides and aspiration for a sweet future, embarked on a journey that eventually brought him to the place that I call home.

Here, over the rainbow, Sprouts Senior found his dream. This is where he settled and started a new line of organic vegetables. His sprouted determination is the reason my family and I are here today.

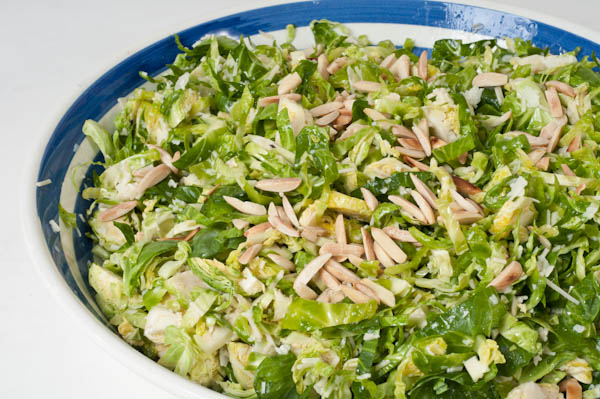
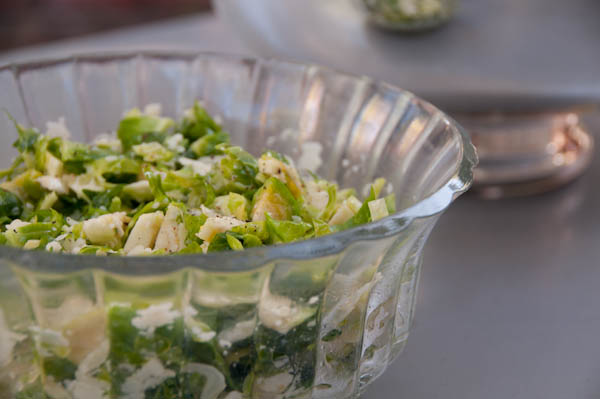
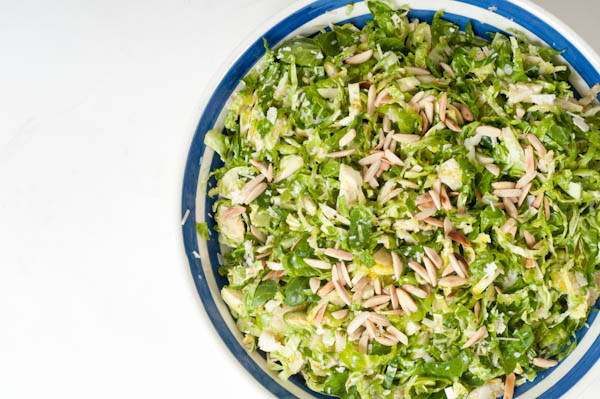
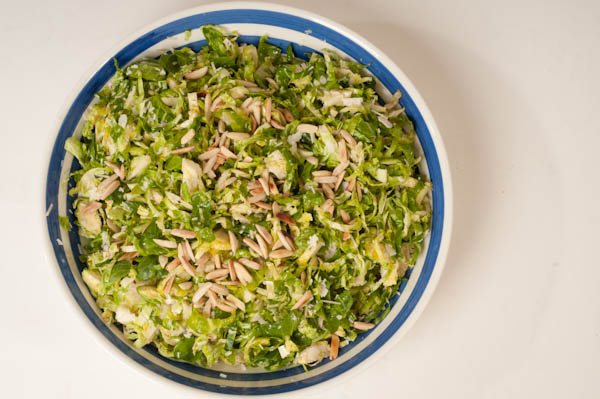
Shaved Brussels Sprouts Salad

Adapted from The San Francisco Ferry Plaza Farmer’s Market Cookbook and published for my friend Dafna

Shaved Brussels Sprouts Salad

Ingredients

  • 1/2 cup warm water
  • 1/2 cup high quality extra-virgin olive oil
  • 1/4 cup high quality grated parmigiano-reggiano cheese
  • 1/4 cup high quality grated pecorino/romano cheese
  • Freshly ground pepper
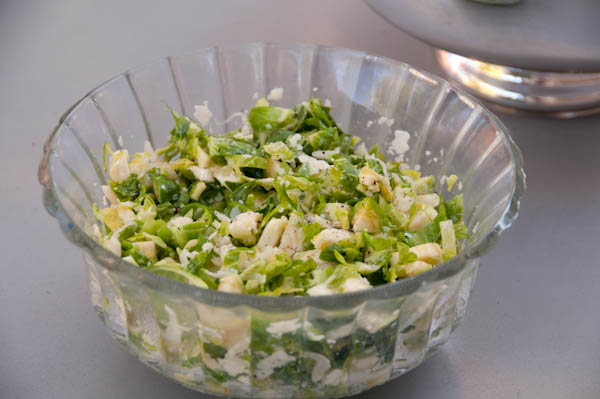
  • 1 pound small Brussels sprouts, trimmed, halved, and sliced into fat slivers
  • Slivered toasted almonds (optional)

Directions

  1. In a bowl, stir together the warm water, olive oil, cheeses, and a few good grinds of pepper. If the mixture is too dry, add a little more water and oil in equal parts. It should be an “emulsified slurry”. The oil and water, which usually don’t mix, are held together by the grated cheese.
  2. Add the Brussels sprouts and toss until they are well coated.
  3. Add almonds (optional).
  4. Taste and add more pepper, if you like, and serve

Note

This salad truly depends on the quality of ingridients. I always make it with the best cheese and olive oil. The ingredients can really make or break this salad!

Shaved Brussels Sprouts Salad

Wine Pairing

Green wine (yes, there are green wines out there,) Stoller Vineyards 2007 JV Pinot Noir – Red Wine is a perfect pairing for this dish.

Shaved Brussels Sprouts Salad

Healthy Back to School Snacks and Lunches

Healthy Back to sSchool snacks and lunches
Healthy Back to School snacks and lunches

School is about to start and I hope that you are as excited as I am about the beginning of the new school year. My son is entering Kindergarten and, now, both of my kids are on their way to become the next US presidents, big time CEOs and world-renowned doctors, lawyers, and scientists (ok, I don’t really believe that – but it seems like this is something that all other parents want for their children)

My overall excitement, however, is somewhat tainted with an anticipation of busy mornings, when I have to prepare twice as many breakfasts, lunches, and snacks.  Did I forget to mention that I am not a morning person, and all of the above activities are taking place before my first cup of coffee!

My biggest fear, though, is losing my new Kindergartener to candies, donuts and hot dogs of our Junk Food Nation. Until now, Jacob has only been eating healthy organic food. I worry that as Jacob enters Kindergarten, he will not only reject the language he speaks at home, but will also begin refusing healthy foods in favor of pizza, ice cream, and French Fries.

But even if I succeed in convincing him to accept my choices for healthy snacks, I fear that carrots and hummus in my son’s lunch box may subject him of becoming a target of dietary discrimination and pointed fingers.

So, with all of these concerns and fears confronted, still psyched that my son is about to embark on the longest and the most important journey of his life, I am putting together a list of snacks and lunches that are not only healthy, nutritious, and re-energizing, but are also quick to prepare in the morning, and can keep both of my kids happy without impairing their popularity at school.

No-Fuss Snacks

AlmondCrunch Jammy Sammy Sandwich Bar

My name is Cucee Sprouts and I hate Newton Fig bars! I know, I know… A strange way to start a post on healthy snacks that I like… But I have eaten my share of these plasticy, rubbery, fake-tasting and stale bars and I want the world to know that there is something better out there! It is called Jammy Sammy Sandwich Bar. Jammy Sammy put a whole different spin on this old-fashioned snack. Individually wrapped bars, they are filled with delicious organic fruit spread that tastes fresh, contains no preservatives or  un-pronounceable ingredients.

AlmondCrunch Almond Crunch

This is our don’t-leave-your-home-without-it snack. It is crunchy, mildly sweet and keeps my gang energized until the next meal. These almonds taste  far superior to any other roasted almonds snacks out there.

JammySammySandwichBars Mashup Squeezable Fruit

I like simple food. Unpronounceable and artificial ingredients scare me. Ingredients that scare me the most, in no particular order, are butylated hydroxyanisold, sodium nitrate, quinine, high-fructose corn syrup, and neon-looking food colors.

Mashup Squeezable Fruit snack is a single-ingredient product – 100% organic fruit puree and nothing else! No added sugar, no additives, no artificial colors, no bugs, no recycled toilet paper, no bathroom chemicals… Think of apple sauce but of berries, apples, bananas and grapes.

On a hot day, I freeze these puppies before putting them in my kids’ lunch box and they keep the rest of the food nice and cool for hours!

FruitCrisps Brother-ALL-Natural Fruit Crisps

A bag of fruit crisps is a special treat at our house; they taste great and are exceptional in their nutritional value. The crispiest and crunchiest, this snack easily passes for a dessert with my kids. And, unlike conventionally dried fruit, that looses most of its nutrients during the heat drying process; these crisps retain all of the nutrients because they are freeze-dried. With no added sugar or preservatives, they are almost as good as a fresh fruit. Apples, Asian pears, bananas and strawberries… All season long…

Kim Nori Roasted Seaweed Snack (Kim Nori)

What do all of Mika’s classmates have in common? The love for (Kim Nori. When my daughter takes this slightly salty, crispy, paper-thin snack to school, her popularity skyrockets and she ends up sharing her bag with all of her friends. I am stocking up on these  as we speak!

DriedFruit Dried fruit

I follow the doctor’s orders and feed my kids everything in moderation, including conventionally dried fruits, even though most of these rate pretty high in their sugar content. But my kids love raisins, so occasionally I hide a small box of these in each of their lunchboxes. These particular Franny’s Raisins are the chewiest and the sweetest that I have ever tried. I personally like them because they are natural, organic and packaged in individual-size boxes.

AlmondCrunch Nature’s Path Organic Granola Bars, Lotta Apricot

There are many advantages to having a stash of Lotta Apricot in the house.

Advantage 1: my kids don’t murder my husband over the last bar.

Advantage 2: they are healthy, nutritious, kid-friendly and meet adult approval.

Advantage 3: they taste superb, are insanely soft, and melt in your mouth at a first bite.

Advantage 4: they can be placed on an automatic and discounted subscribe & save plan on Amazon.

StringCheese Good old string cheese always makes my kids the happiest kids on a block (so glad Jacob outgrew his allergies to dairy.)
FreshFruits Seasonal whole fruits and vegetables

If I had a magic wand, I would wish for blueberries, earl girl tomatoes and sugar peas to be in their peak season year-round. But, since my daughter is the one who controls the magic wand in my family, I have to obey her rules: tomatoes in the late summer, grapes in early fall, oranges in the winter, and sugar peas in the spring.

Briskly washed under running water and packaged into reusable cute snack size containers, these little-drama, no-prep-needed snacks are quick to throw in a lunch box and require no prep work on my part.

Quick to Prepare Snacks

SlicedFreshFruit Fresh  sliced fruit

Whenever I have a few extra minutes in the morning, I pull out my shiny knife and slice up some fresh fruit, sprinkle it with a little fresh-squeezed lemon juice and clover honey and package it in to-go containers. Other times, I create a Japanese-inspired fruit Bento Box of sliced fruits with almond butter and honey on a side.

Tofu Marinated tofu, sliced in wedges

If there was only one thing I had to disclose about my kids, it would be the fact that they are tofu and cheese addicts. My husband, who cannot live without cheese, and me, whose favorite meat is tofu, take full blame for our kids addiction.

I started experimenting with tofu when I learned that Jacob was allergic to all things dairy. But even after overcoming the allergy, tofu and cheese remain mutually substitutable delicacies in our family. If it was up to the kids, they’d eat tofu 24-7; raw, baked, or sautéed.

Unfortunately, this protein-rich soy product is not very healthy in large quantities, so I try to portion my kids’ tofu intake. Once in a while, I slice up some baked tofu and either use it in a sandwich with veggies on a side, or cube it into bite size pieces.

Prepared in Advance Snacks

HomemadeChips Sweet-potato homemade chips

Up until last week, I was proud to say that my kids have never tried store-bought potato chips. (Oh, how much I wish to be able to make the same statement long after the school year begins.) I have made my own home-made chips before and they taste pretty darn good. Loaded with vitamins, healthy carbs and fiber – they are a great snack when prepared in advance. I store them in an air-tight container to keep them fresh and crispy.

Hummus Hummus with sliced vegetables

If you’ve ever made hummus at home, you know how delicious it is; it tastes 100% better than any hummus you buy at the store! The recipe that I make was published in Vegetarian Times, but it originally came from the Bedouins and tastes very authentic. A great way to get some extra fiber and protein into my kids, I package it with sliced raw vegetables, such as celery, cauliflower, broccoli, green pepper, green beans, or cucumbers. Everyone is happy!

Drinks

Milk Horizon Organic Reduced Fat Milk
Kefir Kefir ProBugs

The colorful single-serve pouches caught my attention one day as I was browsing the isles of the local Whole Foods. I bought one of each flavor and, after a mini tasting party, my kids got hooked on two flavors: the Goo Berry Pie and Strawnana Split.

GoodBelly Good Belly Juice

A few years ago, I received a promotion for a new product, called Good Belly Juice. The list of probiotics and vitamins sounded impressive and so I bought a 4-pack to try. Although I am reluctant to give my kids any juice on regular basis, this is now the only juice product that I let them drink at school, sparely.

Water Water (yes, plain old water)

I am lucky to be able to get away with sending my kids to school with water rather than juice. I have my kids pick out a new reusable water bottle every year, which makes them super excited. Sometimes, by special requests, I make “lemonade” for them by adding a few drops of lemon juice to their water (but no sugar, of course).

Lunches

Milk Quesadillas

Mika and Jacob love cheese quesadillas; a combination of grilled cheese and soft tortillas always appeals to them. So, when they open their lunch boxes at school and see freshly made quesadillas, they buzz my ears with excitement in the evening… To infuse their quesadillas with vitamin power, I often sneak a few extra vegetables in, such as mushrooms and sautéed onion or olives and grilled bell peppers.

Kefir Sandwiches

Great Britain is still on my kids’ vacation wish list, but English tea sandwiches often make their way into their lunch boxes: cucumber/goat cheese on spelt bread, smoked salmon/cream cheese on wheat bagels or, their new favorite, almond butter/honey/banana/cranberries on a whole wheat bread.

Water Wraps and Rolls

Great thing about wraps and rolls is that you can make them in advance and they don’t take up too much prep time in the morning. A perfect wrap is the one that is made with sundried tomato tortilla, whipped low-fat cream cheese, a few salad leaves, and smoked salmon with fresh chives.

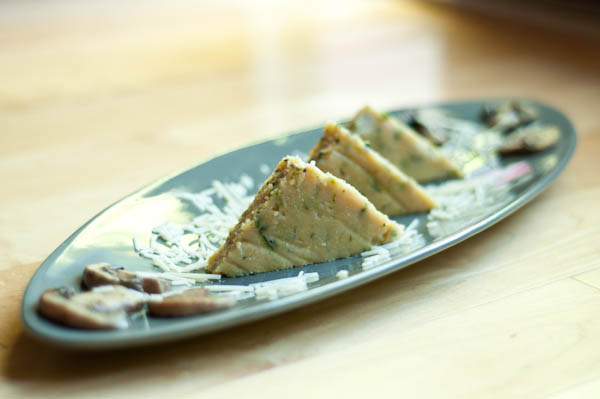
Cheesy Zucchini Polenta Cakes with Mushroom Duxelles

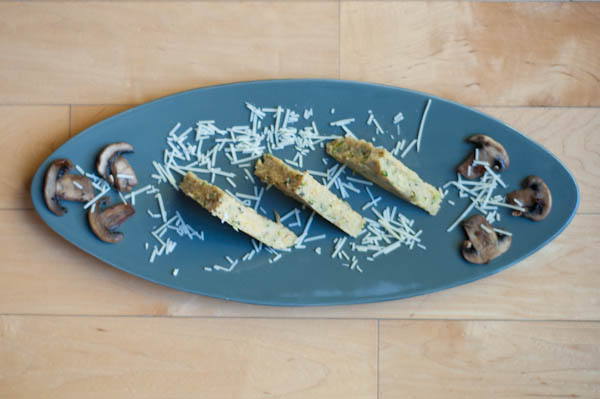
Cheesy Zucchini Polenta Cakes
Cheesy Zucchini Polenta Cakes with Mushroom Duzelles

I’m always curious about what people in my group-ex classes think while doing their round kicks, pushups, or bicycle crunches. I usually exercise after work and my mind is often busy with possible dinner ideas. This past Friday, instead of following the kick-boxing instructor, I found myself inventing a new polenta recipe in my head.

What do you know? The time was not wasted, the recipe turned out great!  The kids loved this delicious, totally unusual polenta cake so much that they demanded it to be repeated the following night. This recipe is definitely a keeper!

Cheesy Zucchini Polenta Cakes with Mushroom Duxelles

Cheesy Zucchini Polenta Cakes with Mushroom Duxelles:

For the polenta:

6 2/3 cups canned low-salt vegetable broth
5 zucchinis, shredded, excess water removed
1 tablespoon fresh marjoram
1 tablespoon Grape Seed Oil
1 2/3 cups polenta (coarse cornmeal)
1 cup (packed) grated Mexican cheese blend (or any other shredded cheese)
½ cup grated Parmesan Cheese

Directions

  1. Bring broth to boil over medium-high heat.
  2. Gradually sprinkle in polenta, whisking constantly. Reduce heat to medium-low; simmer until polenta is thick and creamy and begins to pull away from sides of pan, whisking often, about 25 minutes. It should resemble the texture of the thick oatmeal.
  3. While polenta is simmering, sauté shredded zucchinis and marjoram in 1 tablespoon of oil. Remove from heat when zucchinis start to brown.
  4. When polenta is done, add zucchinis to Polenta.
  5. Turn the heat off and add cheese and stir until it melts.
  6. Season with salt and pepper.
  7. Spread polenta on a cookie sheet, covered with Parchment paper, to an even 1-inch thickness. Cover with another piece of Parchment paper and refrigerate until needed.

For the Mushroom Duxelles Topping:

2 lbs sliced white (or any other type of) mushrooms
2 red onions, diced
¼ cup wine
2 tablespoon unsalted butter

Topping Directions

  1. Heat a large skillet over medium-high.
  2. Melt the butter and add the onions.
  3. Cook for about 10 minutes, or until the onions soften and begin to brown. Mix the sliced mushrooms into the onion and wait until they release water and begin to brown.
  4. Add wine and let the mushrooms absorb it.
  5. Add salt and pepper to taste.
  6. Remove from heat and set aside.

To assemble:

  1. Preheat oven broiler on low and place oven rack in the upper third position.
  2. Remove the polenta from the fridge and cut into 24 triangles. Sprinkle some Parmesan or Mexican Cheese over each square, and broil for 4-5 minutes until polenta is golden and crispy. The longer you keep polenta in the oven, the firmer it becomes. Experiment to see how firm you like your polenta.
  3. Remove from the oven and let it cool slightly.
  4. Place two polenta triangles on a plate and top with a spoonful of the warm mushroom/onion topping. Sprinkle with Parmesan cheese

Wine pairing:

On Friday, we opened a bottle of Grgich Hills Estate Napa Valley Cabernet Sauvignon and felt that it worked perfectly with the mushroom Duxelles. On Saturday, the wine of choice was Don Carlo Cabernet Sauvignon Columbia, that I received as a gift from a friend.

Cheesy Zucchini Polenta Cakes with Mushroom Duxelles