Out of all the seasons, my favorite would have to be fall. I love everything about it—from the first prayers of the Jewish High Holidays in September, to the last piece of turkey at Thanksgiving, with many birthday celebrations in between. Lots of entertaining, cooking, and more importantly, laughing. The days slowly shorten, shedding minutes like our dog sheds his fur and growing windier and chillier each hour. Each moment is filled with crinkly leaves, soothing spices, and lots of delicious autumn-themed food.
Every gathering at my house starts with the menu planning: a few appetizers to get the ball rolling, a good number of vegetable dishes, and one or two protein creations—a healthy variety to satisfy everyone’s taste preferences.
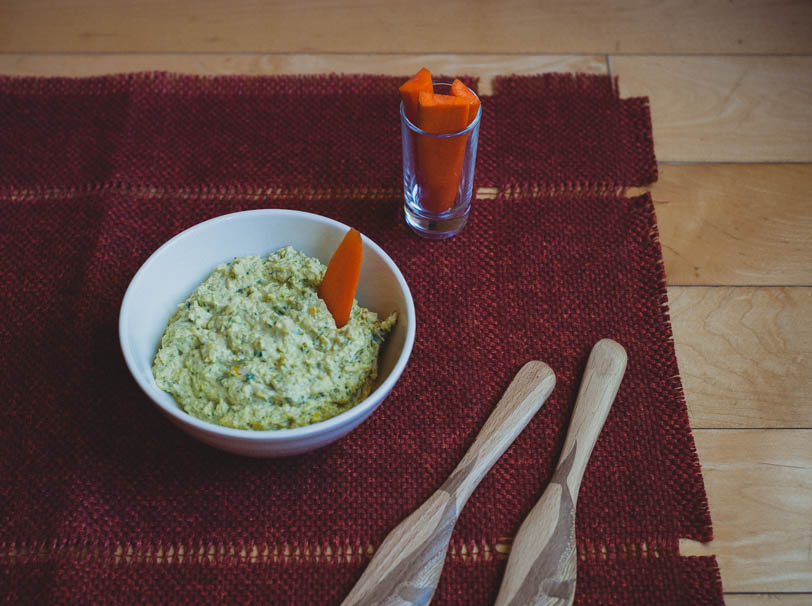
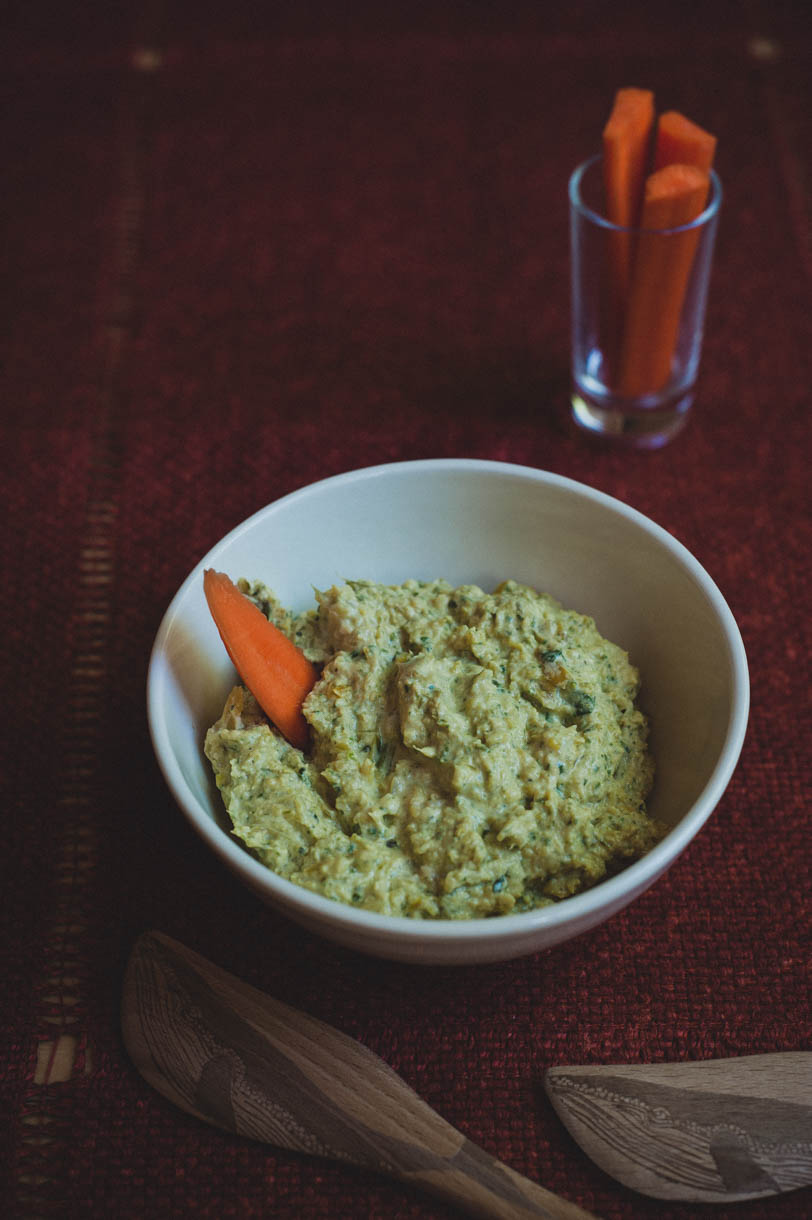
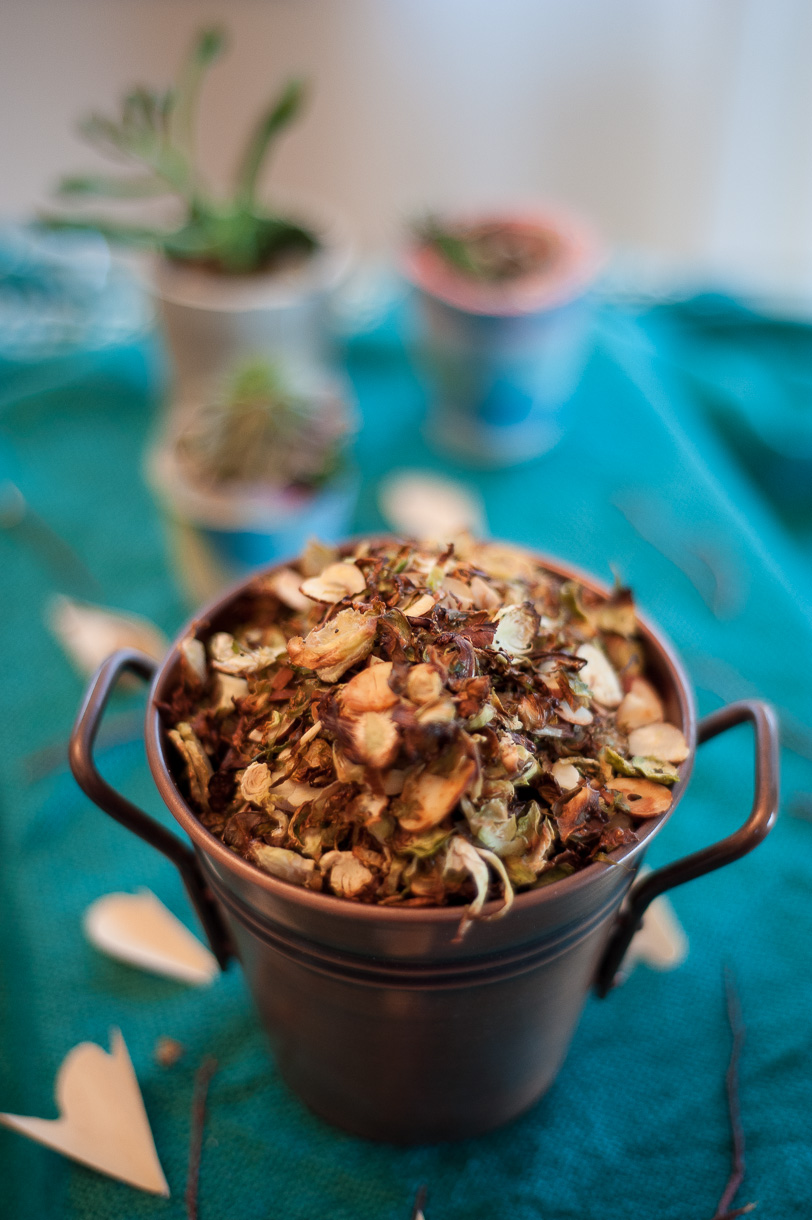
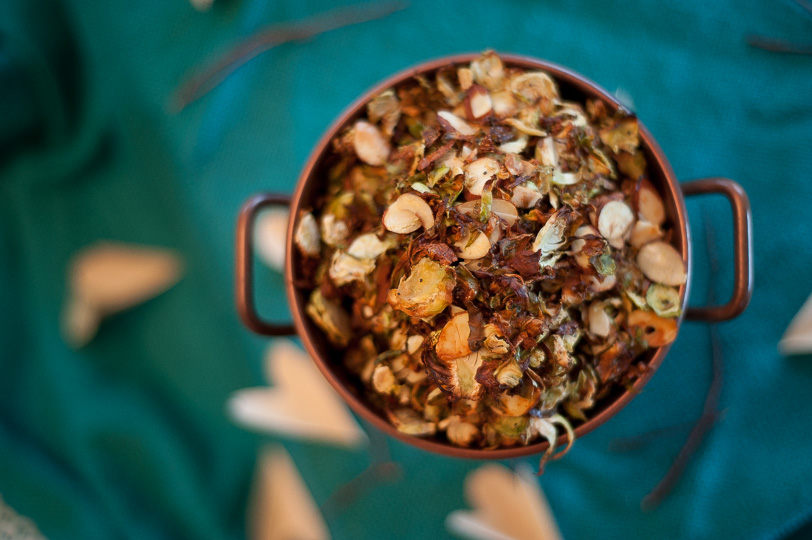
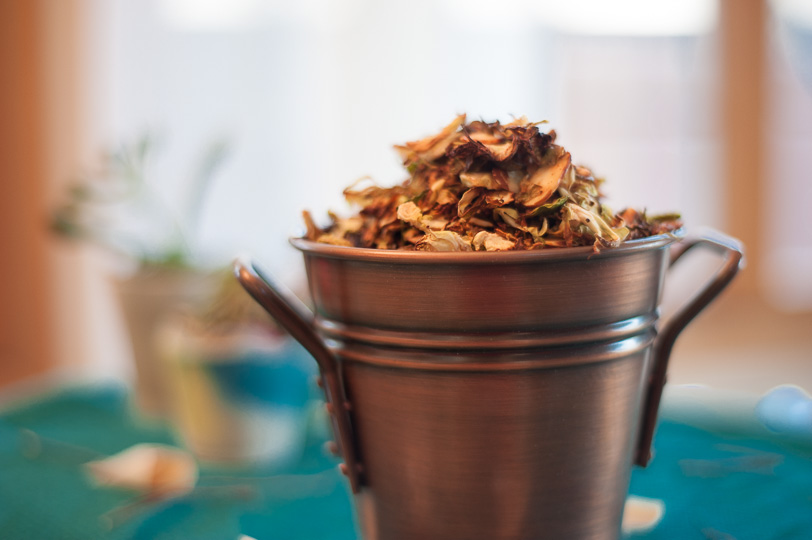
This year, I’ve been experimenting heavily with finger-food ideas. By now, I have collected quite a few unique recipes. I’ve shared a couple of those already—The Lightest Hummus on Earth, Brussels Sprouts chips and the Chia Cheese Crisps, to name a few.
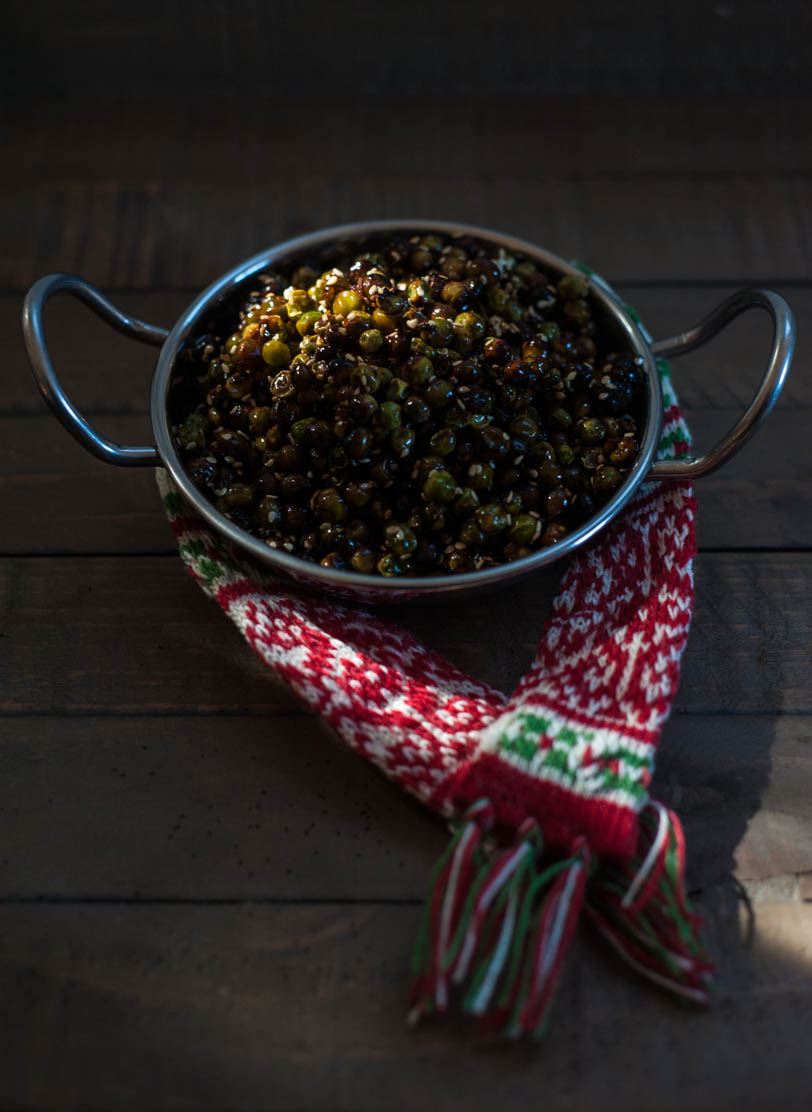
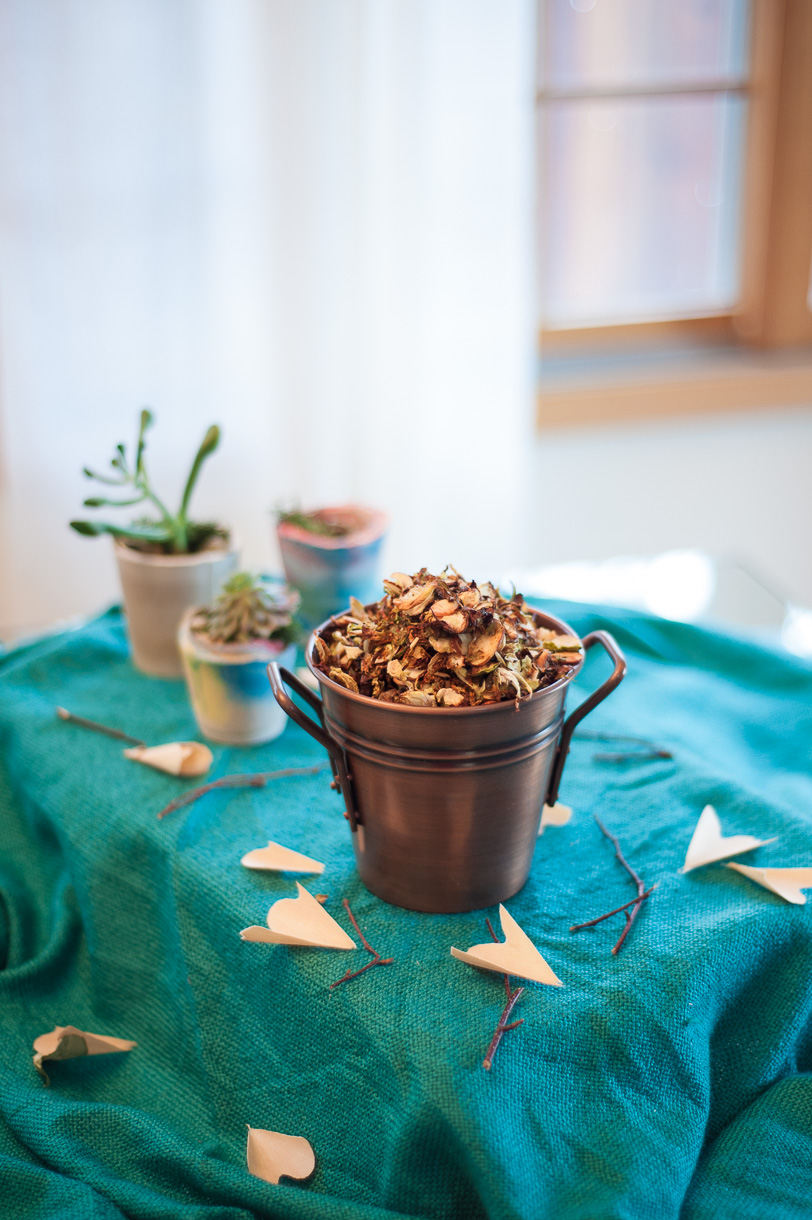
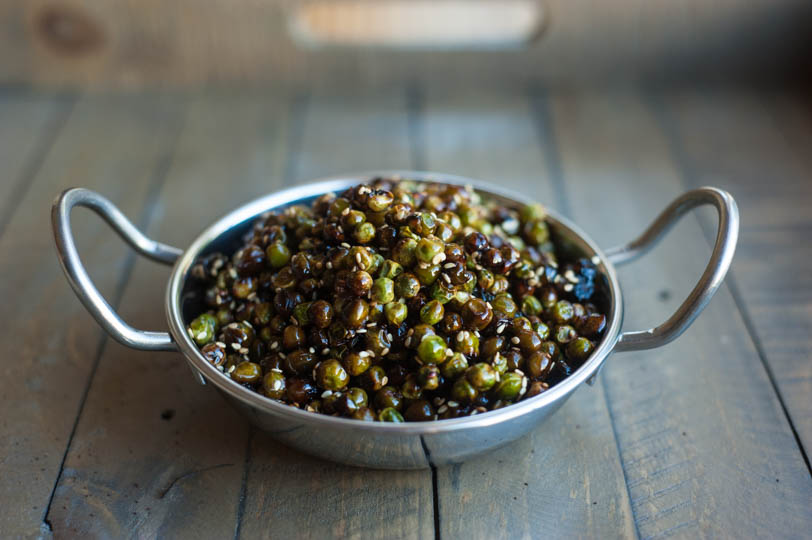
Adding to my collection (and yours) is a recipe for the Roasted Peas, that already stole a few hearts when I last served them. These peas are not like anything you’ve tasted before: roasted with a bit of oil and seasoning, they are crackly and crunchy on the outside and slightly chewy on the inside. A low-cal nutritious appetizer that carries a nutty, briny umami flavor that’s kind of addictive. (P.S. also terrific with cocktails, but more about it later.)
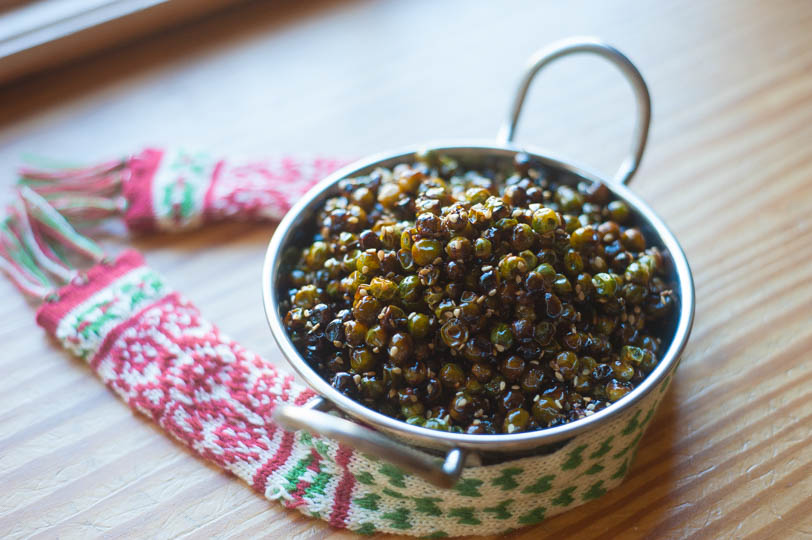
Roasted Sesame Peas
Adapted from Little Bites
Ingredients
- 2 cups fresh (or defrosted frozen) organic peas
- 3 tbsp extra virgin olive oil
- 3 tbsp low-sodium soy sauce or coconut aminos
- 1 tbsp honey
- ¼ tbsp grated fresh ginger
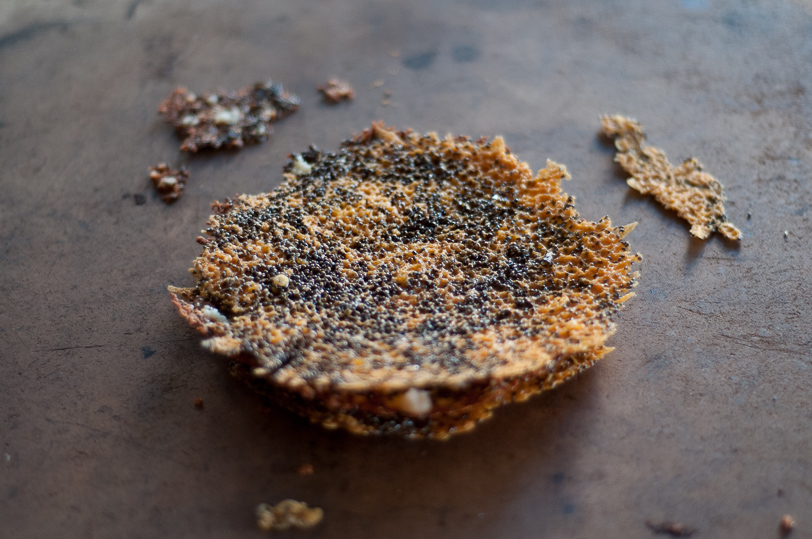
- 2 tbsp raw sesame seeds
Directions
- Preheat the oven to 375 F and line a baking sheet with aluminum foil or a silicone baking mat
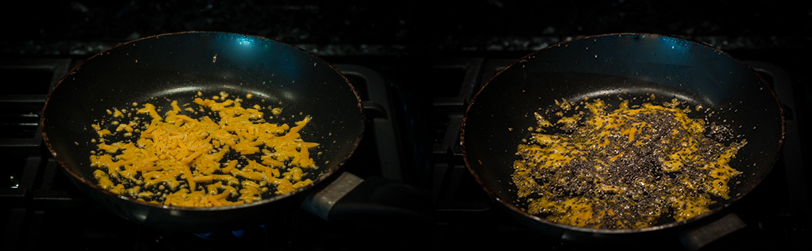
- Wash and dry the peas. Whisk together the olive oil, soy sauce, honey, and ginger in a large bowl. Toss in the peas and stir until evenly coated.
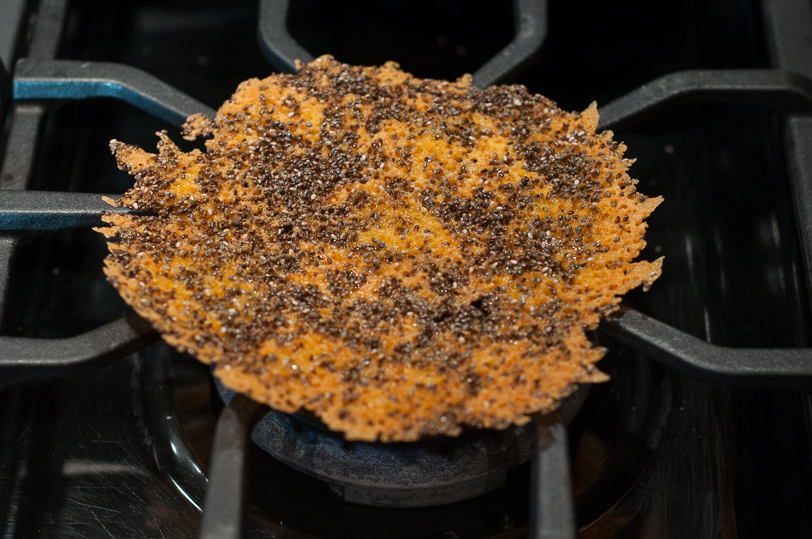
- Spread thee peas into a single layer on the prepared baking sheet and sprinkle with sesame seeds. Roast until crisp, 30-45 minutes (start watching them at the 30 minute mark – they should start getting brown but not black.)
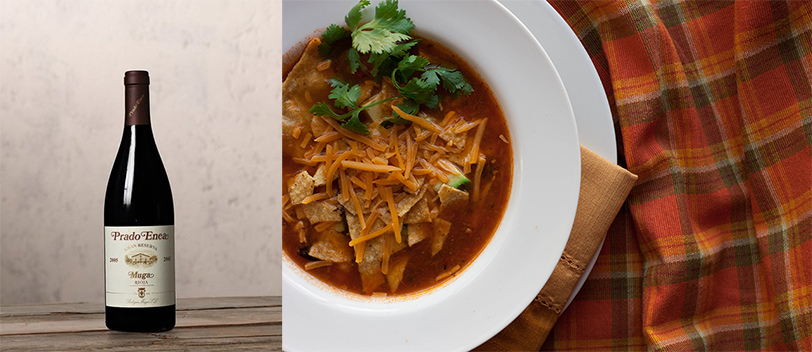
Wine Pairing
The time I brought the peas to my friend’s house, I had a glass of ONEHOPE California Cabernet Sauvignon with them and I liked it. Just like in a song :)