No personal anecdotes to share this time. Just One Really Good Recipe, from One Good Dish.
You know that the cookbook is good when you frantically bookmark recipe after recipe until you cover most of the pages (or run out of post-it’s.) So, I am temporarily putting all of my other cookbooks on hold until I go through at least some of my bookmarks from One Good Dish.
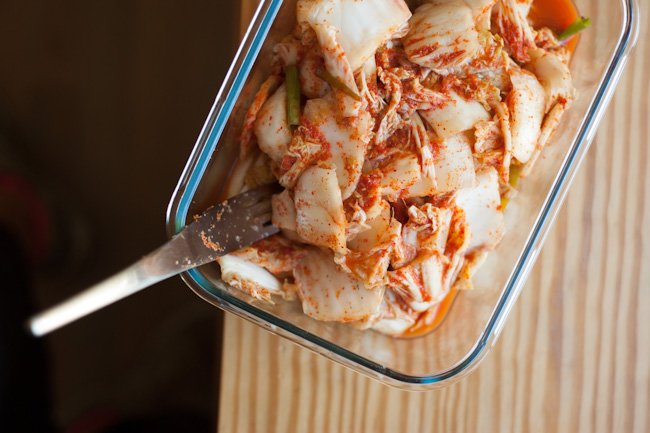
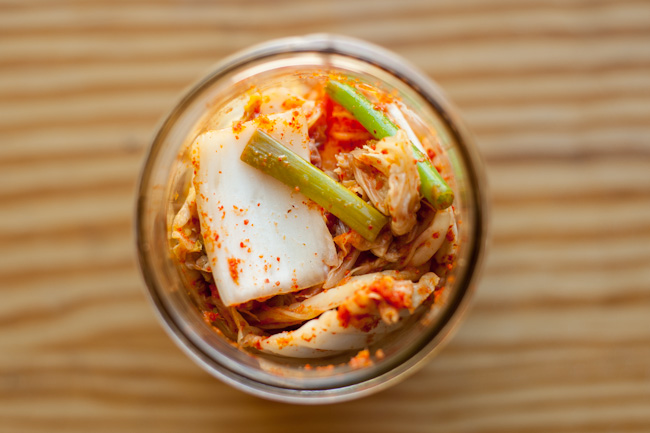
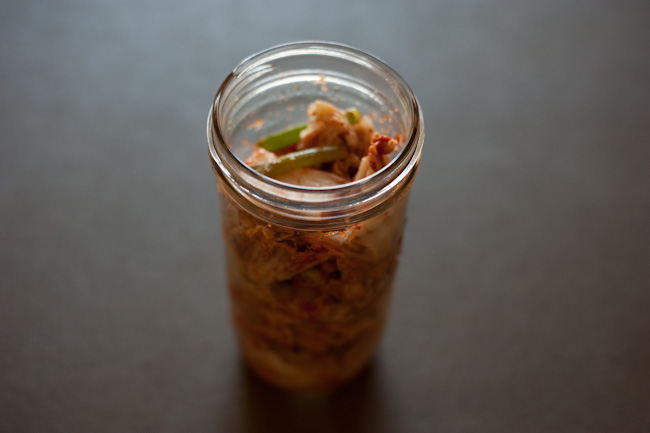
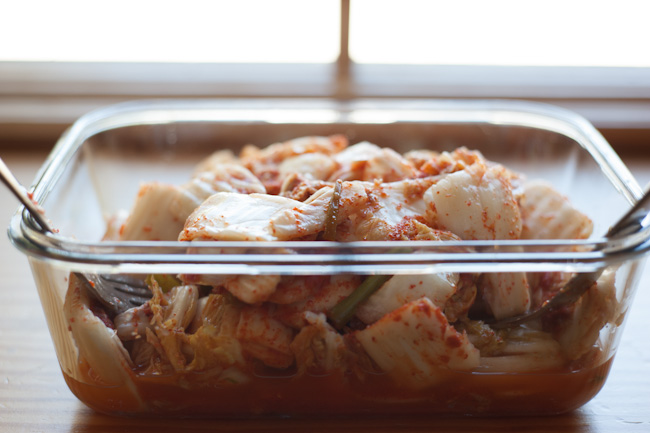
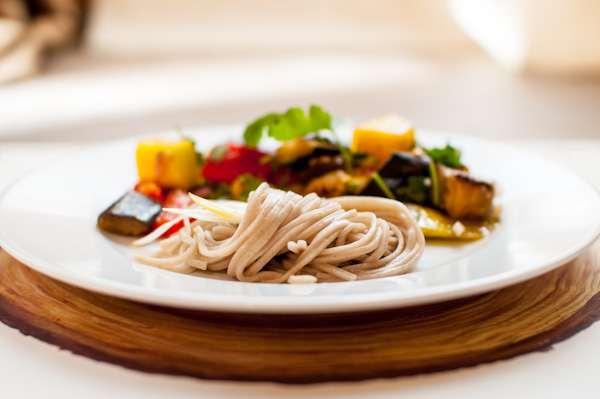
Quick Scallion Kimchee was one of the first recipes I tried and it is definitely a keeper! This simple-to-make condiment compliments just about anything that is not granola, however, it feels most natural in the company of the following delicacies:
- Roasted teriyaki salmon
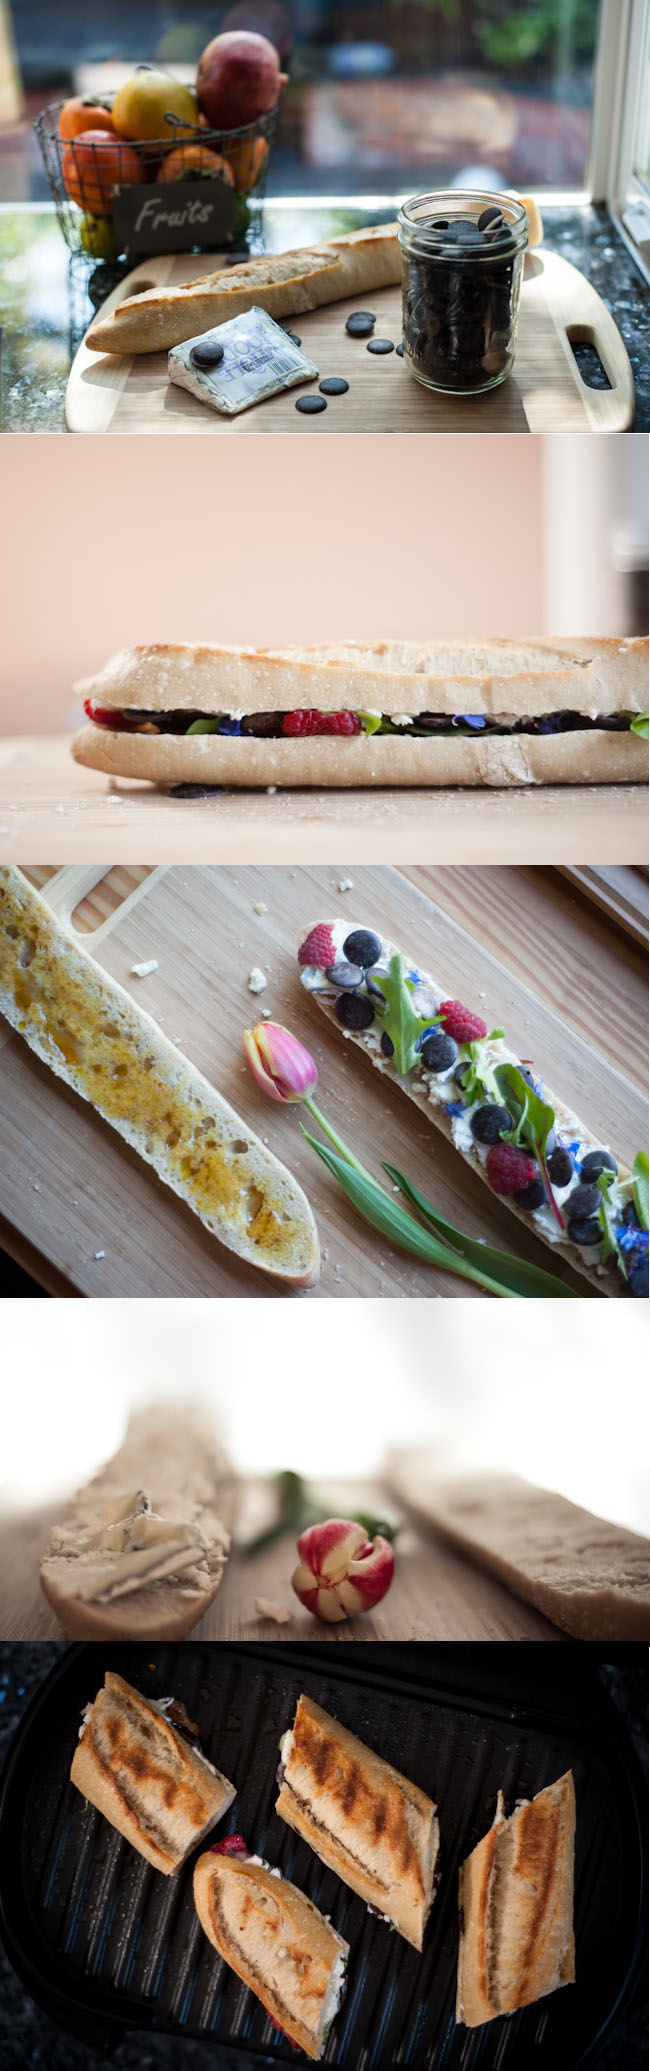
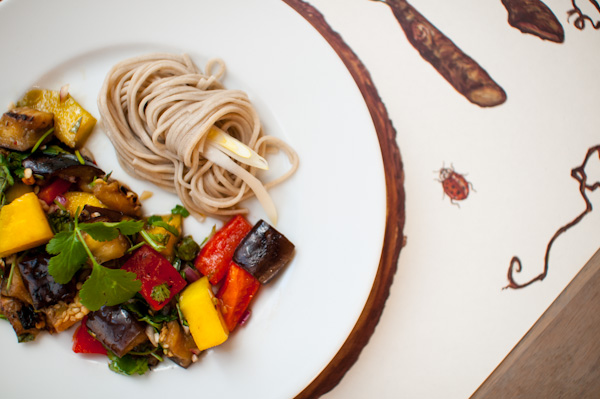
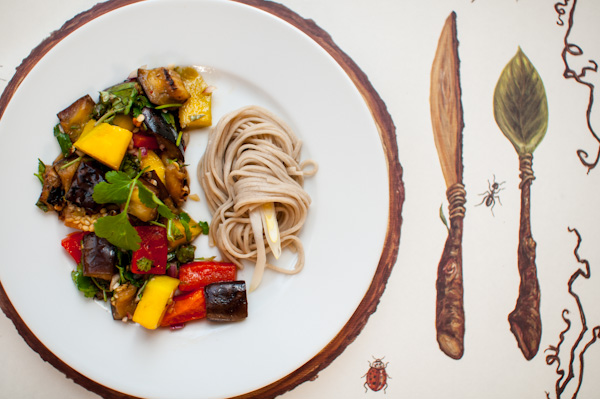
- Grilled vegetables (inside a sandwich or on their own)
- A bowl of cooked quinoa
- A fish taco
- An avocado toast
- A breakfast omelette
- Roasted potatoes, smoked salmon and creme fraiche
- A Reuben sandwich
Quick Scallion Kimchee (Kimchi)
Adapted from One Good Dish
Ingredients
- 4 bunches organic scallions
- 2 tsp kosher salt
- 4 garlic cloves, thinly sliced
- 1 tbsp raw (or dark brown) sugar
- 1 tbsp ginger, grated
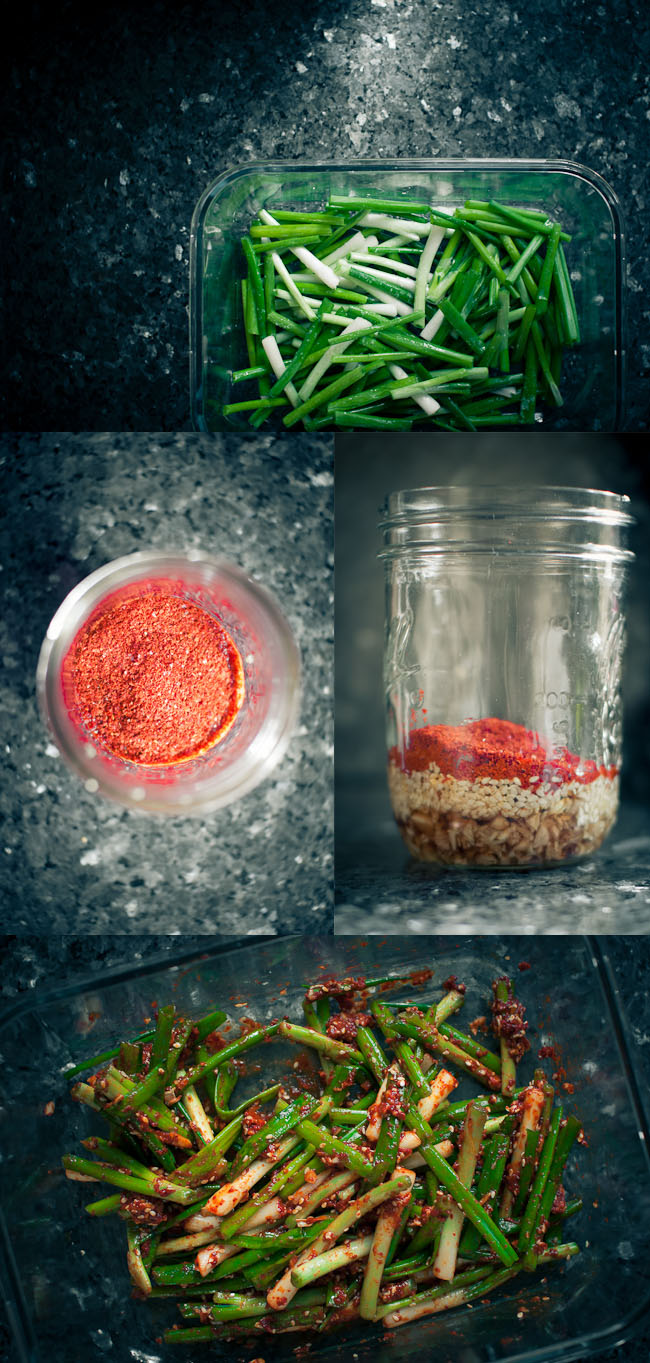
- ¼ cup Korean chile pepper flakes
- 1 tbps toasted sesame oil
- 1 tbsp toasted sesame seeds
- 1 tbsp fish sauce
- 1 tbsp rice vinegar
Directions
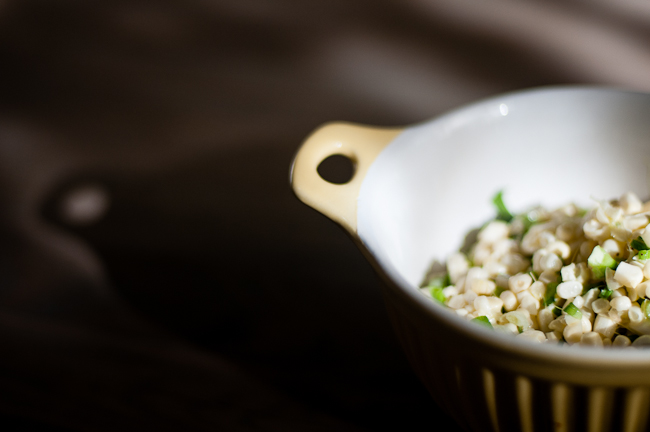
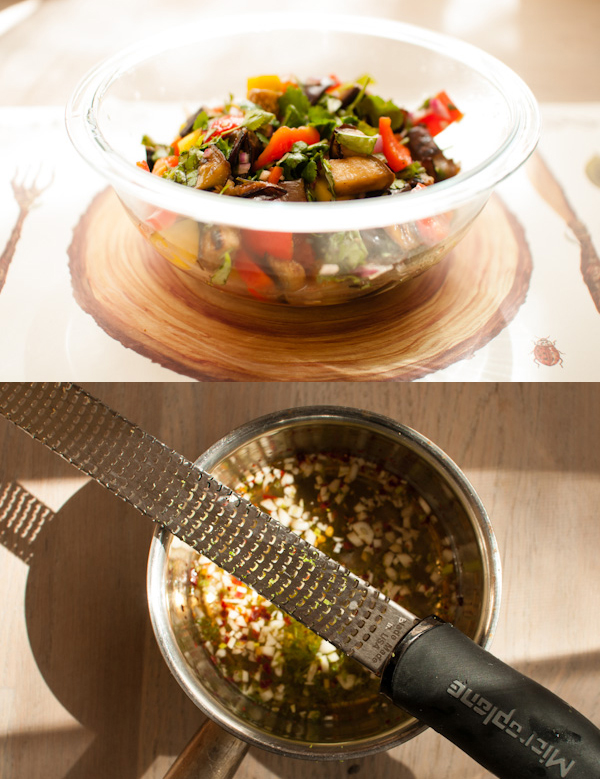
- Trim the scallions and cut into 3-inch lengths. Put them in a glass or ceramic bowl, sprinkle with the salt, and let stand for 10 minutes.
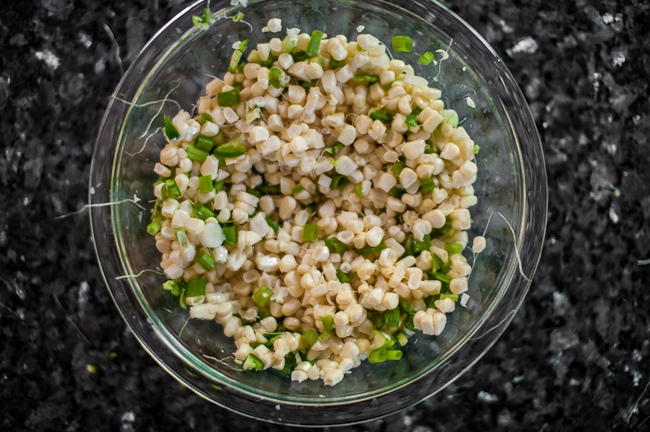
- Mix together the garlic, sugar, ginger, red pepper flakes, sesame oil, sesame seeds, fish sauce, and rice vinegar. Add to the scallions and toss well to coat.
- Lay a plate over the bowl and leave in a warm place for 24 hours. Or, for a stronger-tasting kimchee, let ripen for up to 72 hours. It will keep for a month, refrigerated.
Wine Pairing
I balked at the very idea of finding a perfect alcohol pairing for this condiment. Then I began researching. I tried a couple of things on my own, like my most favorite brand of Sake. I also went to the local wine shop and asked for suggestions. And I googled my way around the internet as well. Through a number of tastings, I finally came across a stellar match – a spicy E. Guigal 2010 Châteauneuf-du-Pape.
If you want to try your hand at a more traditional Kimchi, go back to the recipe I posted a few months back, from the ever-so-popular The Kimchi Cookbook.