My recent lack of motivation has forced me to take a break from cooking and Cuceeing. In the last few months, the only meals I have been putting on the dinner table were healthier-than-takeout, getting-rid-of-spoiling-ingredients, everything-but-the-kitchen-sink meals.
But as the holiday season approached, my culinary ego went into an assertive state and forced my creative self to come back out. So, crossing my fingers and toes, with a renewed sense of inspiration, I cautiously declare the end of my creative cooking blockade. Like the Israelites freed from the bondage of Egyptian slavery, I finally feel liberated from my creative block.
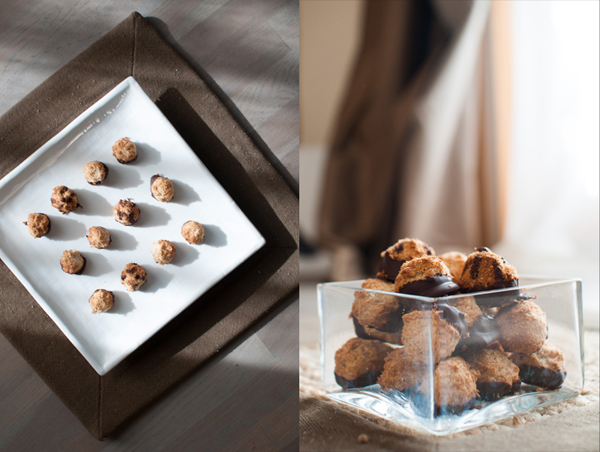
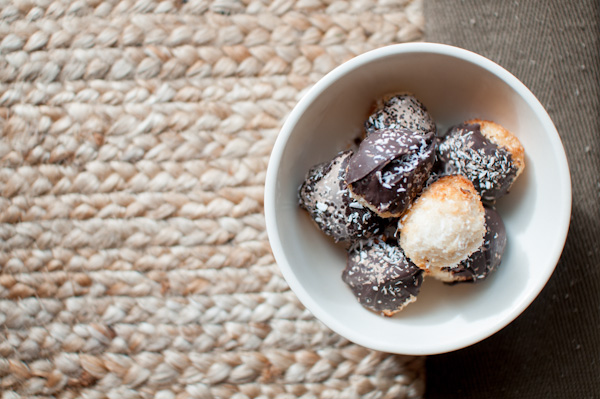
Today’s recipe has been inspired by a dozen of freshly baked macaroons given to me a few Passovers ago by a friend of mine, who insisted they were the simplest dessert to prepare on the planet. Being a very ammature baker, I received her excitement with a lot of skepticism until I effortlessly made a batch of my own macaroons this last Sunday from a famous recipe by David Lebovitz. These fuzzy little balls were so good that, halfway through the baking, I discretely finished one quarter of the batter by myself, while my unsuspecting children were at the pool with their daddy.
Here is the recipe, modified to be Kosher for Passover and Pretty for Cucee.


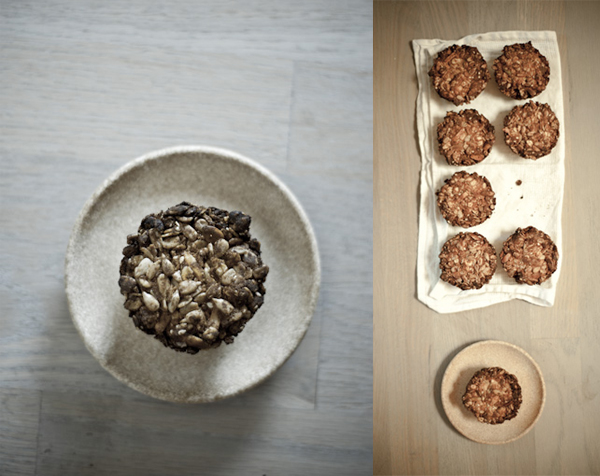
Chocolate Coconut Macaroons
Recipe adapted from Ready for Dessert: My Best Recipes, and inspired by my friend Danfa of Stellina Sweets
Ingredients
- 4 large egg whites
- 1¼ cups sugar
- ¼ teaspoon salt
- 1 tablespoon honey
- 2½ cups unsweetened coconut
- ¼ cup coconut flour
- 1tsp vanilla
- 2 ounces semisweet chocolate
Directions
- In a large skillet, mix together the egg whites, sugar, salt, honey, coconut and coconut flour.
- Heat over low-to-moderate heat on the stove-top stirring constantly, scraping the bottom as you stir. When the mixture just begins to scorch at the bottom, remove from heat and stir in the vanilla. Transfer to a bowl to cool to room temperature.
- When ready to bake, line a baking sheet with parchment paper and preheat the oven to 350 degrees F. Form the dough into 1 1/2-inch mounds with your fingers evenly spaced on the baking sheet. Bake for 18-20 minutes, until deep golden brown. Cool completely.
- To decorate the macaroons in chocolate, melt the chocolate in a microwave. Line a baking sheet. Dip the bottoms of each cookie in the chocolate (or pour some over the top in a pattern) and set the cookies on the baking sheet.
- Allow cookies to set in the fridge for 10 minutes.

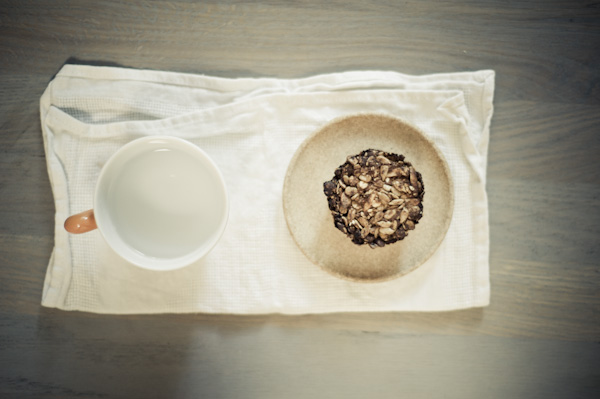
Wine Pairing
Crisp, light and very affordable Moscato D’Asti Moscato is a match made in heaven for this ultimate Passover treat.